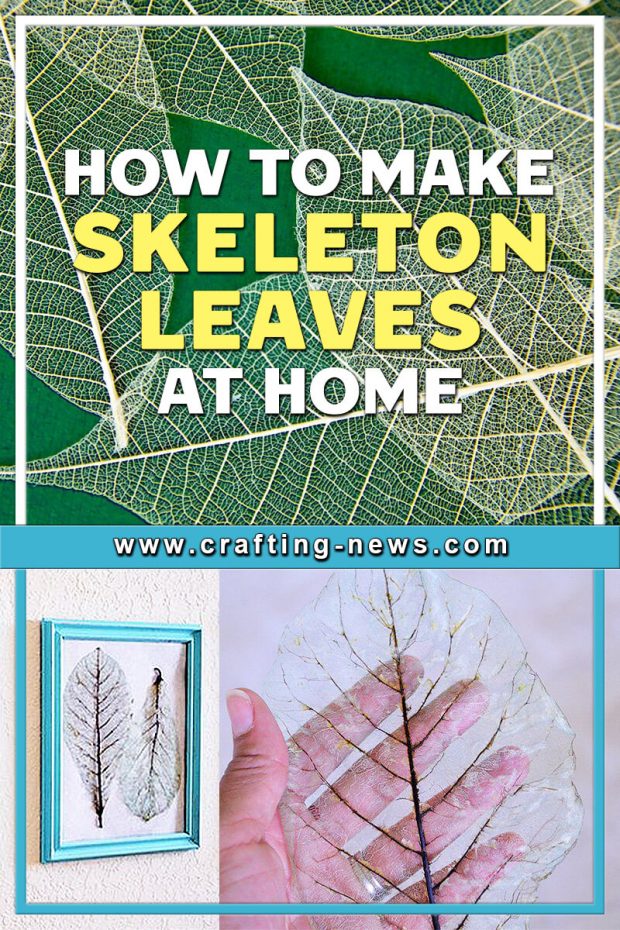
If you have never heard of skeleton leaves, you probably think they have something to do with Halloween. But this is far from the case. Skeleton leaf art is beautiful, stylish, and perfect for adding an elegant touch to your home decor.
What are Skeleton Leaves?
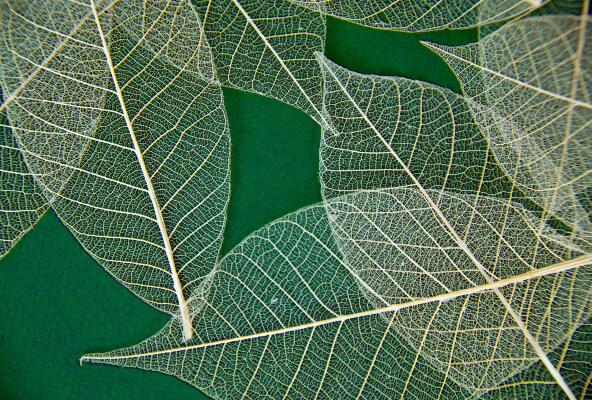
Skeleton leaves are leaves that have been processed. When we look at leaves in nature, we do not get to appreciate the beauty that is hidden in the tissue.
During the skeletonizing process, the tissue is removed while leaving all the veins intact. This creates a beautiful, intricate lace design.
What Can Skeleton Leaves Be Used For?
The creation of skeleton leaves is a fun science project that can be shared with kids. But that is not the only thing skeleton leaves are good for. They can also be used for:
- Greeting cards
- Gift wrapping
- Festive decorations
- Garland
- Decoupage
- Wall hangings
- Decorating candles
- Paper making
- Scrapbooking
- And More
Skeleton Leaf Art
The process of making skeleton leaves is time-consuming, but well worth it. It takes patience, trial, and error. But once you master the technique, you will want everyone to see your amazing creations.
Supplies Needed to Make DIY Skeleton Leaves Craft
- Waxy leaves
- Water
- Bleach
- Sodium Carbonate (Washing Soda- make your own)
- Large metal pot or saucepan (not aluminium)
- Metal tongs
- Rubber gloves
- Small paintbrush or soft toothbrush
- Shallow dish
- Cooling rack
- Measuring cups
- Coated paper plate
- Paper towels
How to Make Skeleton Leaves
The amount of water and sodium carbonate you need will depend on the size and number of leaves you have. You will want enough water to completely cover all the leaves.
You will also need to take into consideration the cooking time. The leaves need to simmer for 2 to 3 hours. You do not want to pot to go dry.
When skeletonizing leaves, always make sure to work in a well-ventilated room. You will also want to wear the rubber gloves to protect your skin from scalding water and chemical burns.
DIY Skeleton Leaves:
1. Gather all your supplies.
2. Mix the water and sodium carbonate in the metal pot or saucepan. Use 1 part sodium carbonate to 6 parts water. For example, if you use 6 cups of water, add one cup of sodium carbonate. If you use 3 cups of water, add ½ cup of sodium carbonate.
3. Bring the mixture to a boil. Then lower the temperature to a simmer.
4. Add the leaves and simmer for approximately 90 minutes to 3 hours. The timing will depend on the type of leaves you use. You want the leaves to boil long enough, so they turn soft. If too much water evaporates, add more. You do not want the leaves to dry out.
5. Take your shallow dish and add about 1 inch of cool water.
6. Use the metal tongs to carefully remove the leaves from the pot and add them to the cool water.
7. Make sure you have your gloves on. Then gently swirl the leaves in the water with your finger.
8. Transfer the leaves from the water to a coated paper plate.
9. Use the paintbrush or soft toothbrush to very gently brush off any of the pulpy parts left on the leaf. The leaves are extremely fragile!
10. Dump the water out of the shallow dish and refill it. Place the leaves back into the dish to rinse them off. Do not rinse the leaves under running water. This will tear the leaves.
11. You can stop here and allow the leaves to dry, or you can use the bleach to get them whiter.
12. If you want your leaves whiter, soak the leaves in bleach for 20 minutes.
13. Remove the leaves from the bleach and place them on the cooling rack, paper plate, or paper towel. Make sure to protect your work area from the bleach.
14. Once the leaves are completely dry, you can show off your creations.
Now that you know how to make skeleton leaves, it is time to get creative. Everyone will be impressed with your skeleton leave crafts.
Are you looking for a new and exciting crafting technique? Let nature help you out. You will impress your friends and yourself with skeleton leaves.
Make sure when you’re collecting your leaves that you find very waxy leaves with a lot of veins, as they work best. And grab a few extra just in case you end up a with a couple of rips.
Create Skeleton Leaves on your very own, frame them and wow your guests! These look other-worldly and you might find yourself staring at them for a little too long.
For more crafting projects, also see: DIY Fabric Bunting Tutorial and DIY Water Balloon Luminaries

