One of the most common and recognizable origami patterns is a boat. It is an easy pattern that is simple enough for children to learn how to make an origami boat. And it has become even more popular since the release of the newest Stephen King It movies.
Some origami patterns can be intimidating, but a paper boat is really simple to make. All you need is an 8.5 inch x 11 inch piece of paper. You can use regular copy paper, lined paper, or cardstock. The choice is completely up to you.
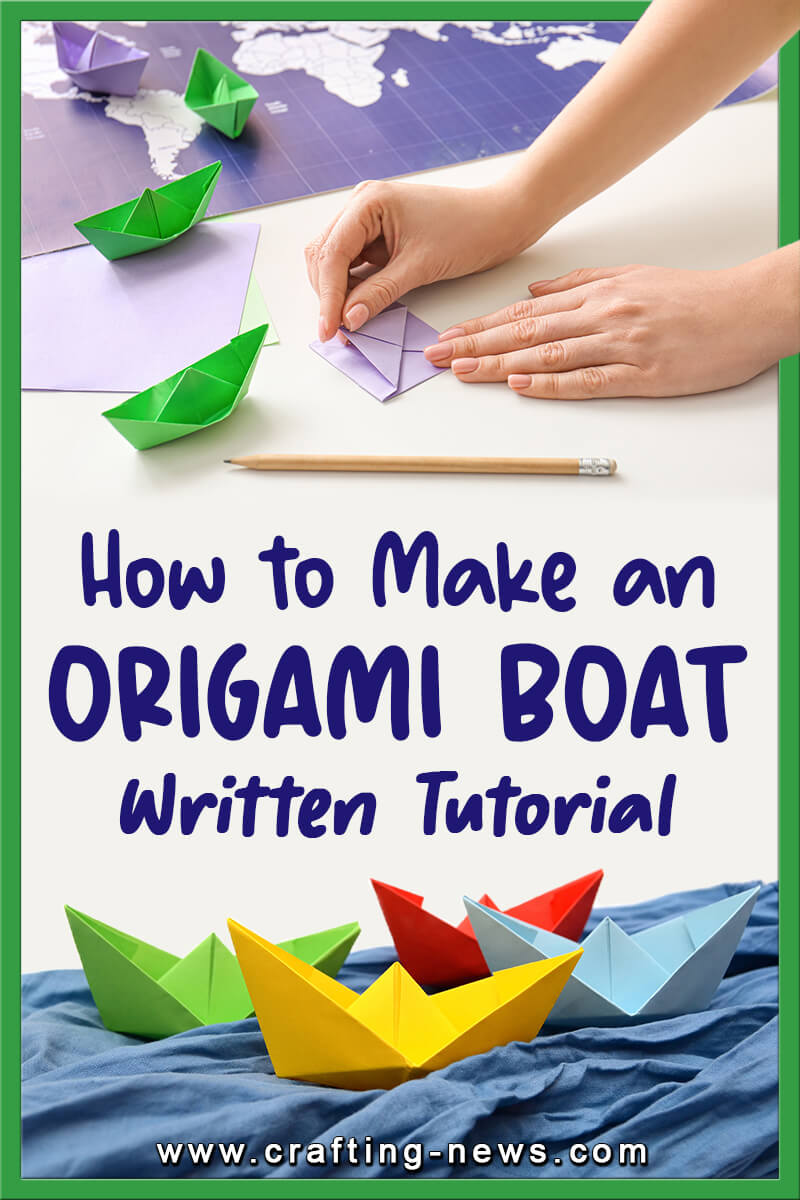
Below is our step-by-step tutorial, to learn how to make an origami boat.
What is Origami

Origami is also referred to as orikata. It is the art of folding paper. It has been around for centuries and is enjoyed by people all around the world. The origins of origami can only be traced back to the 15th century. However, it was used long before that.
You can find all types of origami patterns from boats and planes to animals and cartoon characters. If you can imagine it, it can be made out of paper using origami techniques.
Origami Boat Instructions

Before you begin, you will need a few basic supplies:
- An 8.5 inch x 11 inch piece of paper
- Bone Folder (optional). Use this to make the folds crisp.
- Instructions
How to make an origami boat Step by step:
1. Start by laying your paper down vertically on your work surface.
2. Fold the paper in half from the left to right. This will create a 4.25 inch x 11 inch rectangle.
3. Unfold the paper.
4. Fold the paper in half from the top to bottom. This will create an 8.5 inch x 5.5 inch rectangle. Leave it folded.
5. Take the top, left corner, and fold it down to meet the center fold line created in step one. The top crease should line up evenly with the center fold line.
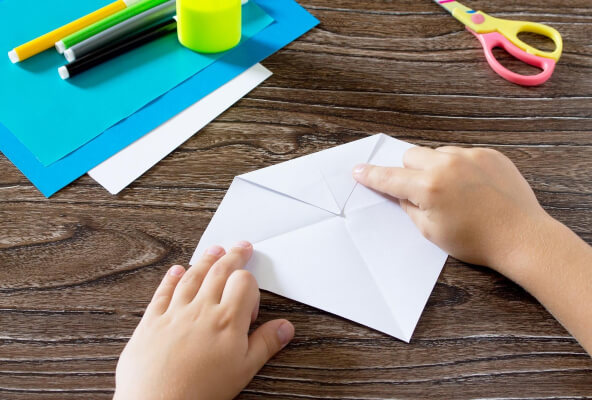
6. Take the top, right corner, and fold it down to meet the center fold line created in step one. The top crease should line up evenly with the center fold line.
7. Fold the bottom of the front layer up. Crease it where it meets the flaps you created in steps 4 and 5.
8. Turn the boat over and fold the other layer up so it is even with the front layer you just folded upward.
9. Unfold both bottom folds.
10. Take the corner of each fold and fold it up and in towards the creases you just made. When done, you will have creased four tiny triangles.
11. Fold the bottom flaps back up.
12. Now open the boat so it looks like a hat. Continue pulling outward on the sides until it folds back in on itself and flattens. It will create a diamond shape.
13. Take the front, bottom point, and fold it up to the top point.
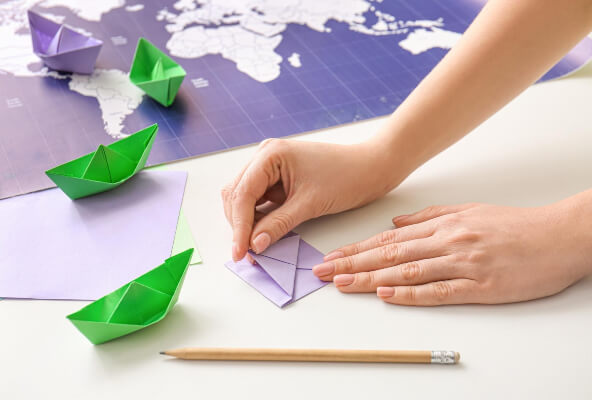
14. Turn the boat over and repeat on the other side.
15. Open up the boat all the way until it closes back in on itself and lays flat. It will create a diamond shape.
16. Pulling the left and right flaps outward.
17. Flatten the boat and make sure all the seams are crisp.
18. Finally, open the boat slightly on the bottom.

NOW YOU’VE LEARNED THE STEPS ON HOW TO MAKE AN ORIGAMI BOAT, YOU CAN NOW MAKE YOUR OWN PAPER BOAT ORIGAMI.
After making one, share a photo of your paper boat origami with us on our Facebook Page. You can also try making an Origami Crane, Origami Box and Origami Heart. In case you want more paper craft ideas, check out our DIY Paper Flower Bouquet, Paper Weaving Patterns and more for you.
Origami is a fun and interesting hobby. It can be enjoyed by people of all ages. If you are new to origami, or are teaching your child the basics, a boat is a great first project.
We hope our how to make an origami boat tutorial has helped you create your first little boat.

