Are you looking for a new hobby? Punch needle is trendy and easy to learn. Unlike cross stitching, punch needle gives you quick results.
Cross stitching is fun and rewarding, but sometimes you want a project that you can get done fast.
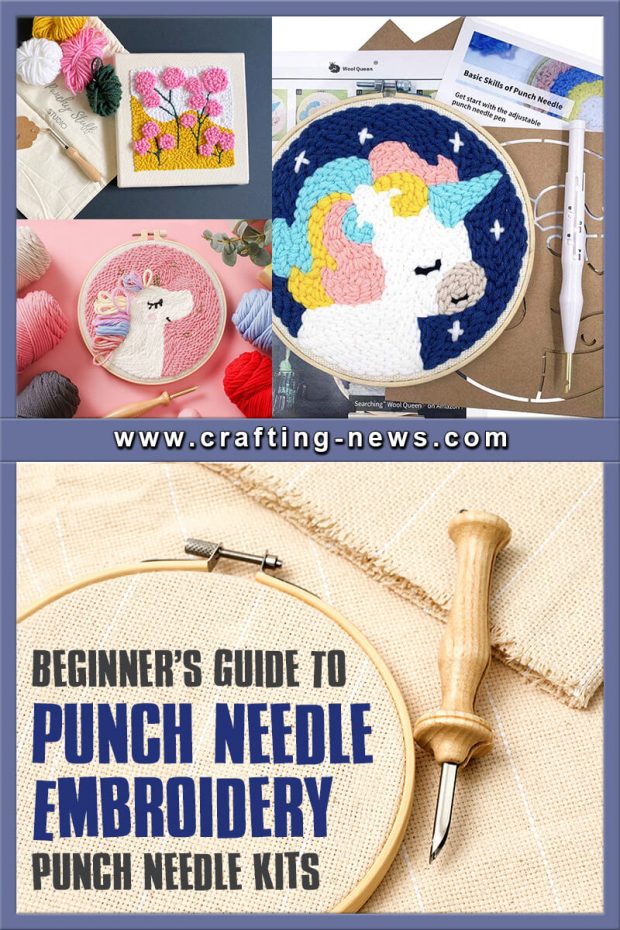
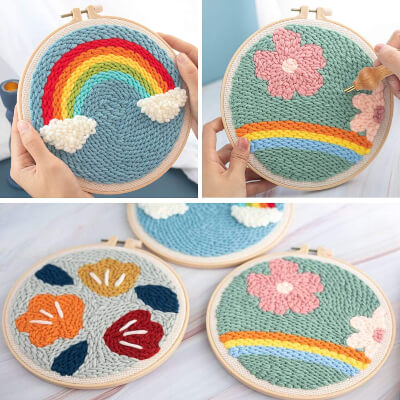
If you have been researching punch needle crafting, you have probably seen all the beautiful designs. These projects are ideal for adding texture and colour to your décor. And they make wonderful gifts for friends and family.
What is Punch Needle?
Punch needle is a crafting technique that creates lovely textile art. It involves punching yarn or thread through a woven fabric. In most cases, the working side of the fabric is the back of the project.
The back of the fabric with the loops is the front. However, you can mix the techniques to create an interesting texture.
With punch needle embroidery there is no stitch counting. You can walk away from the project without worrying about losing your place. If you are always getting interrupted while working on your projects, punch needle is for you.
What Punch Needle Supplies Do You Need?
Punch needle embroidery is not only fun, it requires very few supplies.
1. Punch Needle Embroidery Tool
There are a wide variety of punch needles to choose from. You will want to choose a needle that is easy to hold. We recommend using an ergonomic punch needle so your hand doesn’t tire out as quickly.
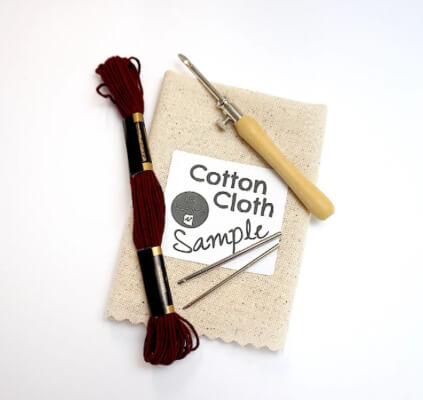
The Lavor needle tool has a plastic handle made to look like wood. It includes three metal needle tips. There is one small needle tip that measures roughly 1.5 mm and works best with embroidery floss. The medium needle measures 2.5 mm.
And the large needle is 3 mm. The medium and large needles work with floss and some small gauge yarns.
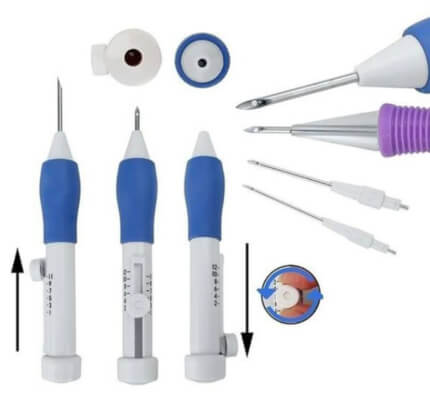
This ergonomic needle is comfortable to hold. This set is light weight and comes with a storage box. You can control the length of the loops directly on the handle. The kit includes 1 handle, 3 needles, 2 threaders, and 1 pen needle.
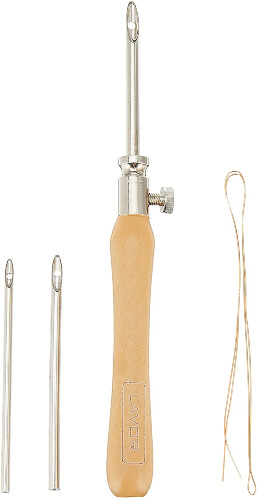
The Lacies kit includes three needles and a plastic handle. It is a simple design that is easy to use. The needles included are.078 inch, .098 inch, and .118 inch. The needles are to be used with embroidery floss/thread.
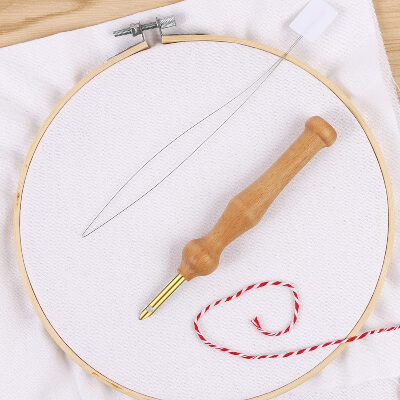
The BENBO embroidery needle consists of a smooth wood handle and brass pinhead. It is durable and sturdy to use.
The set includes 3 punch needle embroidery pens and 3 needle threaders. The pinhead is 5 mm with a 3mm eye. These needles are suitable for yarn. They are not suitable for lines that are too thick and too thin. And they work best on soft and lightweight fabrics
2. Embroidery Hoop
The size of the hoop you need depends on the size of your project. For small projects, we have found that it is more comfortable to use a 5 inch or 7 inch hoop.
For larger projects, you may want to use a quilting hoop. Since you need to keep your fabric tight, we recommend using a no-slip embroidery hoop.
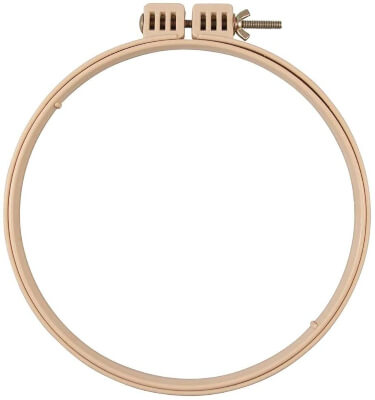
The Morgan non-slip embroidery hoop has a unique patented tongue and groove configuration. The hoop will hold your fabric securely.
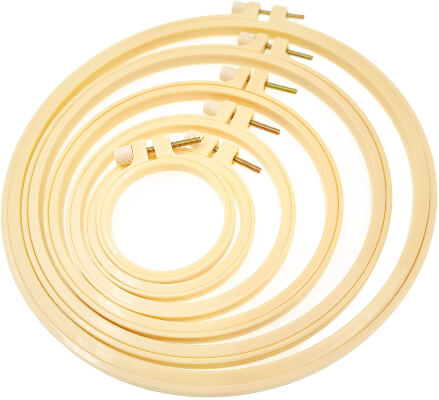
The set from Wool Queen includes 6 sizes. You get a 2.7 inch (7 cm), 3.7 inch (9.5 cm), 5 inch (12.7 cm), 6.5 inch (16.5 cm), 7.8 inch (20 cm), and 9.8 inch (25 cm) hoop. The design prevents the movement of your project until the outer ring is loosened.
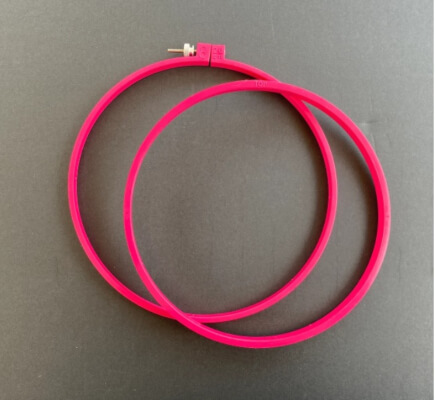
The Frank Edmunds embroidery hoop has a lip that grips weavers’ cloth, cotton, linen, monk’s cloth, and other embroidery fabrics. The hoop will hold your project securely and keep the fabric tight while you work. The hoop is available in 8 inch and 10 inch.
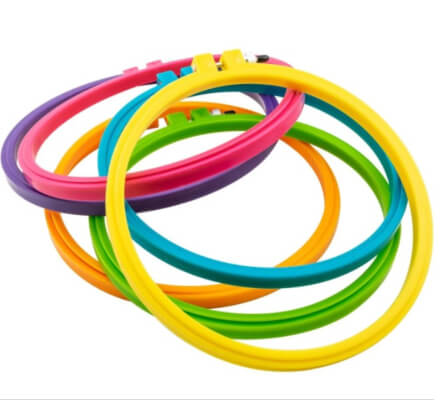
The Susan Bates Hoop-La plastic embroidery hoops have a super grip lip that keeps your project secure. The hoop has a soft surface and tight grip. The Hoop-La hoops are available in 4,5,6,7,8, and 10 inch sizes.
3. Yarn or Embroidery Floss
You will need either yarn or embroidery floss. The pattern and needle size will determine which one you choose.
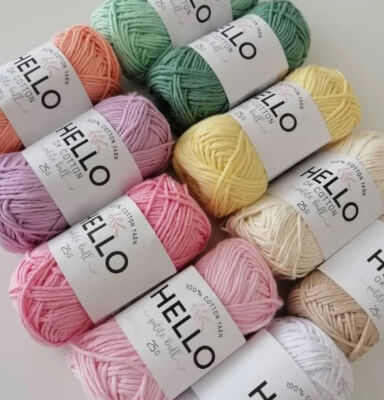
HELLO yarn is a 100% cotton mercerized yarn. It is available in 60 colours. It is offered in two different options: 50 gr and 25 gr.
HELLO cotton threads have the Oeko-Tex Startdart 100 certificate, which certifies that no harmful substances are used in the thread. It is 100% Turkish Made and domestic production.
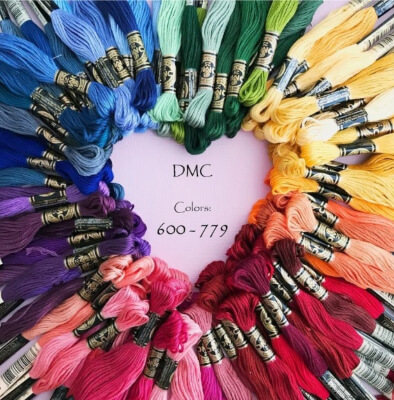
DMC floss is the industry standard. It is high quality embroidery floss that is easy to work with. This DMC floss is long staple Egyptian cotton and double mercerized for a brilliant sheen. DMC embroidery floss is fade resistant and 100% colourfast.
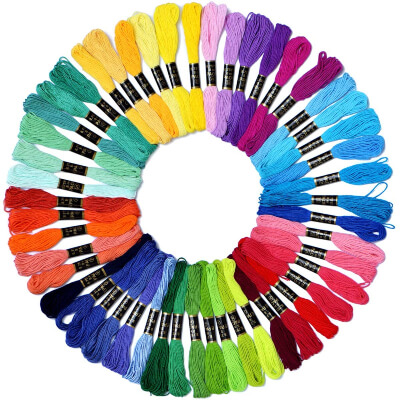
This set comes with 50 vivid colours of embroidery floss. The floss is made from 100% high quality mercerized cotton.
Each 6 string skein is 8.75 yards long. The floss is soft, silky, and strong. It will not fluff or kink and does not fade away.
4. Fabric
The size needle you are using will determine the fabric for your project. If the fabric has an open weave the loops will come out. If the fabric is too tightly woven; it can be hard to push the punch needle through.
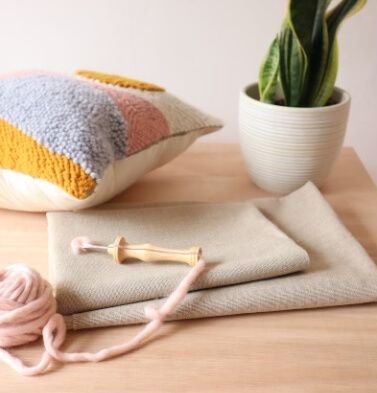
Here is a beautiful natural coloured linen that is a great cloth for needle embroidery. The cloth count is approx 20 holes per inch.
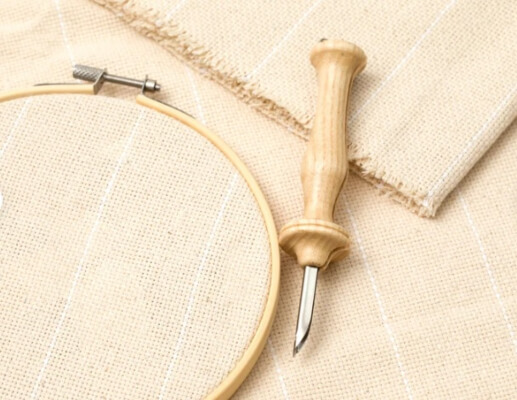
The Monk’s Cloth for Rug embroidery cloth is made using only 100% Cotton. The fabric is soft and easier to use for punch needle designs. It is perfect for beginners and seasoned pros alike. It offers control and quality for a seamless experience.
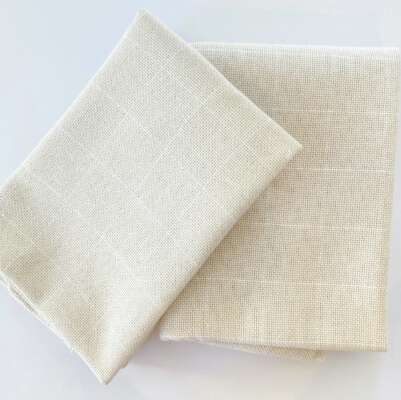
Here is a monk’s cloth with a 2″ grid pattern. This fabric is popular for punch needling. This monk’s cloth is different from the others on the market as it comes with white grid lines horizontal and vertical.
These lines make it easy for lining up geometric patterns. This cloth will work with Oxford regular and Fine needles and larger adjustable needles with yarn. It is not for floss punch embroidery.
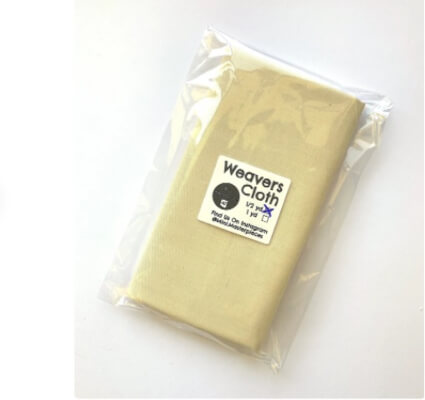
This Weavers cloth is a durable 55% poly and 45% cotton fabric blend. It is intended for punch needle embroidery and hand embroidery. It is not for rug punch.
5. Punch Needle Patterns
If you are a beginner, you will want to choose a simple beginner-friendly pattern. You will want to look for a pattern that uses simple shapes.
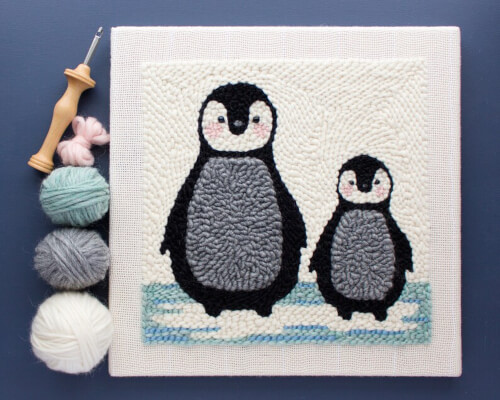
Learn punch needle with this cute penguin pattern. The pattern will help you practice creating flat stitches, loop stitches, and adding details. The 17 page pattern includes step-by-step written instructions with photos and tips.
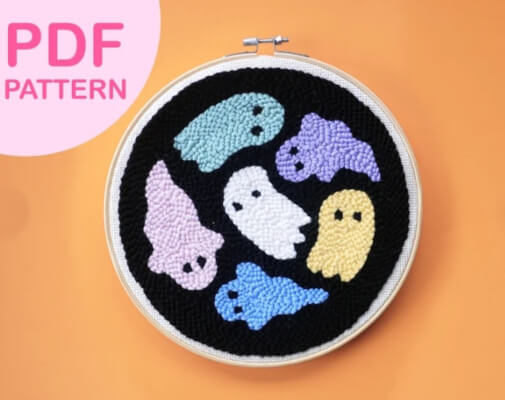
The Ghost Party pattern is a cute design that can easily be completed by a beginner. The PDF pattern includes a printable pattern, yarn and colour guide, instructions, and
a copy of a “How to Punch Needle” ebook. It contains information about the tools and materials needed, how to get started, troubleshooting, and more!
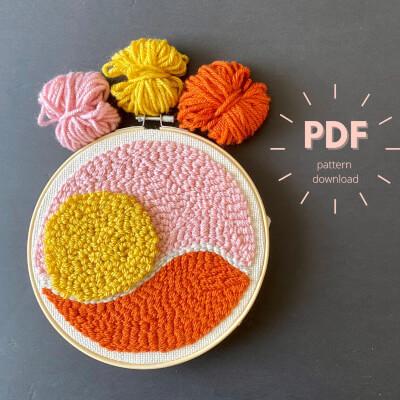
Here is a lovely 8 inch easy beginner-friendly punch embroidery pattern. It features the bright sun over a landscape. You can use the colour palette suggested or create your own.
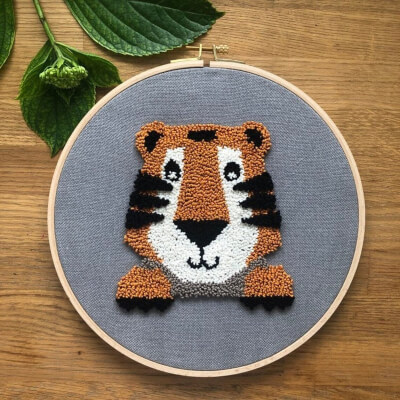
How cute is this tiger? And the best thing about it is a beginner can make it. Included in the download is a full colour pattern, a list of DMC colours needed, a colour photo of the finished design, a tools list, and instructions in English.
6. Transferring Materials
Before you can begin your project, you need to transfer the design to the fabric. There are several ways you can do this.
You can use a lightbox, transfer paper, or make iron on transfers with an inkjet and plain white paper. You can also hold the pattern and cloth up to the window and trace the design.
The embroidery transfer pen has a non-permanent, blue ink that allows for easy transfer of designs onto fabric. The ink is removable by using a damp cloth or cold water.
This 4 colour set will allow you to work with a variety of coloured fabric. You can even use the set to colour-code areas for different stitches.
When you have completed your projects, the lines can be removed with a hot iron.
The LightTracer LED Lightbox has a large working area. The 12” x 10” lit area features gradient illumination, so you get the brightness you need. It is a durable, lightweight box that is comfortable to use.
This pack of carbon transfer paper comes with 30 sheets. The sheets measure 8.5 by 11 inches. The carbon transfer paper can be used on paper, wood, canvas, ceramic, clay, etc.
7. Miscellaneous Tools
There are a few additional accessories you will need including a needle threader and scissors.
The Clover Embroidery Stitching Tool Needle Threader is designed specifically for easy threading of embroidery stitching tools.
This set contains two long needle threaders 6.125 inches long. From the end of the finger holder to the end of the wire is 5 inches.
These premium high quality stainless steel scissors are ideal for embroidery. They are easy to use and beautiful. These scissors are available in a wide range of colours.
Punch Needle for Beginners
As we have stated before, punch needle embroidery is super easy. However, there are a few steps you need to take before you can start punching.
1. Transfer the Design
The first thing you want to do is transfer the design to the fabric. You can use any of the techniques we listed above. We find the easiest way to transfer the design is with a lightbox and fabric marking pen.
2. Prepare the Hoop
Place your fabric in the hoop. You will want the fabric to be drum tight. To do this start by laying your fabric on top of the inner hoop.
Place the outer hoop on top and slide it down onto the bottom hoop. Start tightening the hoop a little at a time. Pulling down on the edges of the fabric making sure the fabric is tight as you go.
3. Thread the Punch Needle
The needle may look a little intimidating; however, it is easy to thread. Simply insert the needle threader into the long, sharp end of the needle.
Push the eye of the threader all the way through the punch tool. Now place the thread or yarn through the eye of the needle threader. Pull the threader out of the needle and remove the threader.
Now place the threader through the hole near the tip of the needle. Finally, place the thread or yarn back through the eye of the threader and pull the threader back out of the hole.
4. Punch the Design
You usually want to start by creating the outline of the shape, then filling the shape in. Start by positioning the needle on your fabric. You will need to reference your pattern to see which side of the fabric to start working on.
Press the needle through the fabric, holding it straight up and down. Hold the end of the thread so you do not pull it back through the fabric.
Pull the needle back through the fabric just far enough that the tip is just at the surface.
Move the tip of the needle along the pattern. Make your next punch approximately a needle’s width away from your first punch.
Continue this process over and over until you have completed the border. Then fill in the shape.
5. Finishing You Punch Needle Embroidery Project
As with other embroidery projects, you can frame your project or simply display it in the embroidery hoop. You can even use the project to make rugs, pillow, bags, and more.
11 Punch Needle Beginner Kits
Kits make crafting fun and easy. Below are 10 of our favourite punch needle kits for beginners.
1. Oxford Punch Needle Kit with Printed Pattern & Yarn by TheCherryBlossomUS
The landscape needle kit includes everything you need to start the project and detailed English instructions. Along with this landscape kit, the seller has several other kits to choose from.
The kit includes an 8 inch embroidery hoop, pre-printed pattern fabric, 1 punch needle tool, and embroidery cotton threads.
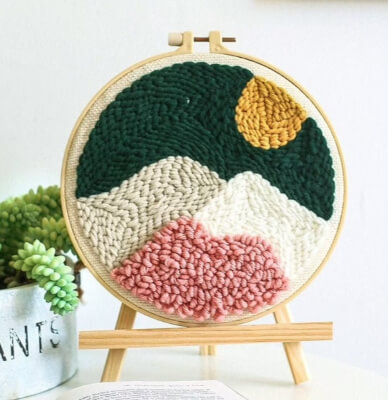
Find the Pattern by TheCherryBlossomUS Here
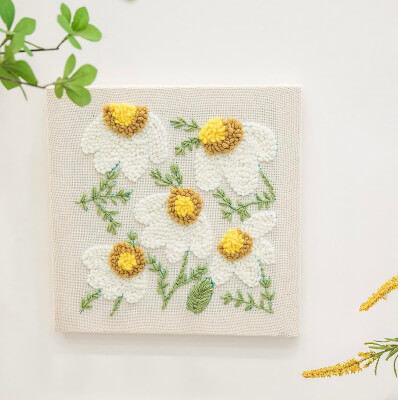
2. Daisy Punch Needles Start Kit by ChloeArtCrafts
Here is an elegant, yet simple design. This kit is great for ideal for beginners. It is an easy pattern that can be completed in one weekend. The Daisy kit comes with preprinted fabric on a wooden base, a punch needle tool (optional), and 1 set of embroidery cotton threads.
You can order this kit without a punch needle, with a wooden punch needle, or a plastic punch needle.
Find the Kit by ChloeArtCrafts Here
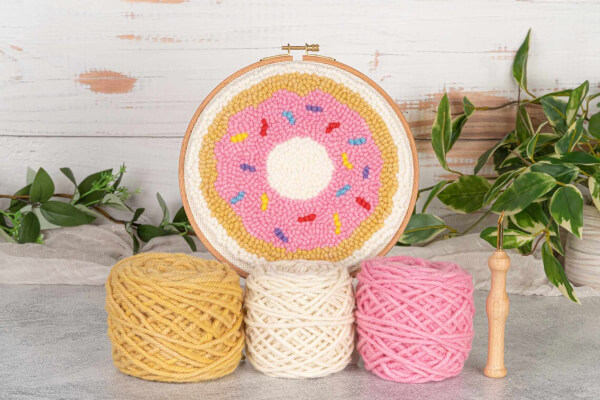
3. Donut Mini DIY Punch Needle Kit by StringoftheArt
This would make a cute addition to your kitchen decor. And it is a fun design to punch.
Included in the Donut Mini Punch Kit are 100% wool rug yarn, an 8 inch beech wood embroidery hoop, monk’s cloth fabric, a pattern template, an instructions booklet, 5 how-to videos, a needle tool, and one black marker.
Find the Kit by StringoftheArt Here
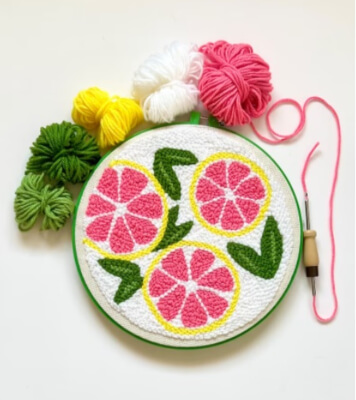
4. Punch Needle Starter Kit by PunchyStuff
Create this large 10 inch grapefruit pink lemonade needle punch and make it into a small rug or a throw pillow. You can even frame it and hang it in your kitchen or sunroom.
With this kit, you get everything you need, including 1 piece of cotton monk’s cloth, 5 mini skeins of yarn, your choice of punch needle (or no punch needle), 1 threader, a 10-inch plastic no-slip gripper hoop, the pattern, and instructions with step-by-step photos, plus a quick start video.
Find the Kit by PunchyStuff Here
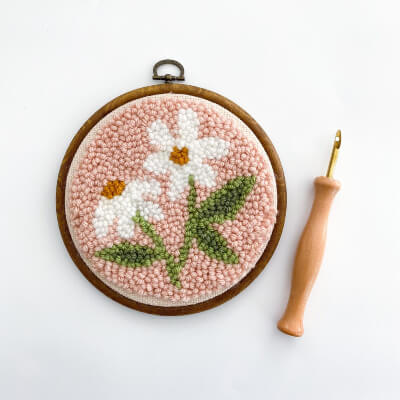
5. Pink Daisies Punch Needle Kit by TheUrbanAcres
This beginner’s kit is a great introduction for beginners. You get everything you need to create your very first punch needle piece of artwork.
This kit includes easy-to-follow, step-by-step printed instructions which will help you punch like a pro. Also included is a flexible embroidery hoop, a punch tool, acrylic yarn, and monk’s cloth.
Find the Kit by TheUrbanAcres Here
6. Dog Pattern Punch Needle Kit for Beginner from TheCherryBlossomUS
This cute, modern doggy embroidery kit would make a great addition to your home or make it for a puppy loving friend.
The kit has everything a beginner needs to make this project. The kit includes an 8 inch embroidery, 1 pre-printed pattern fabric, a punch tool (wooden or plastic), and a set of embroidery cotton threads.
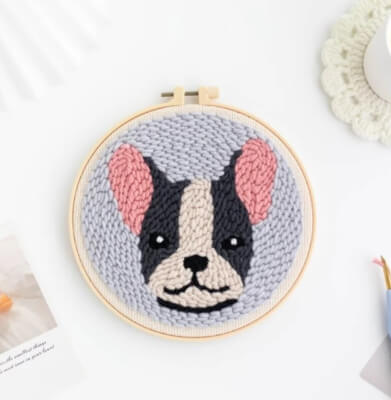
Find the Kit from TheCherryBlossomUS Here
7. Mushroom Pattern Begin To Punch Needle Kit by TheUrbanAcres
How about a cute little mushroom pattern? This colourful mushroom would be a joy to punch. It was designed with beginners in mind. If you have never punched before, this kit is for you. It includes easy-to-follow, step-by-step printed instructions which will help you create professional looking projects.
You will also receive a flexible embroidery hoop, a punch tool, yarn, and monk’s cloth.
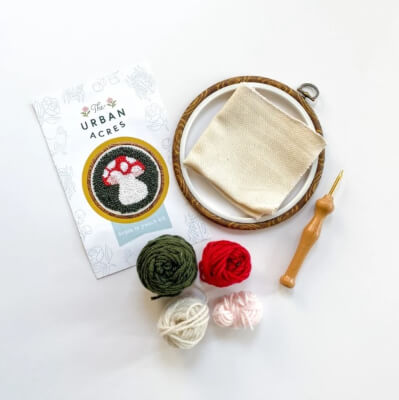
Find the Kit by TheUrbanAcres Here
8. DIY Punch Needle Kit for Beginners by GilmyStore
Here is a super simple kit for beginners. This would make a great gift for a birthday or Mother’s Day.
This DIY kit contains everything you need to get started to make your own flower. Included is a 8 inch plastic embroidery hoop, an adjustable punch needle (optional), 4 yarn colours, 1 piece of 10 inch x 10 inch punch needle fabric, and a user’s guide.
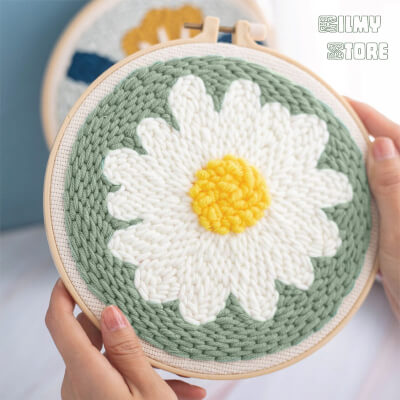
Find the Kit by GilmyStore Here
9. DIY Embroidery Supplies for Summer Floral Pattern from PunchyStuff
This pretty punch needle kit is a great choice if you are timid about using an embroidery hoop and finishing your project. This design is punched directly on a pre-stretched frame that you can hang directly on the wall.
The DIY punch needle kit for beginners includes an 8×8 inch sturdy wood frame with pre-stretched monk’s cloth ready to punch, a 3.5mm punch needle with wood handle (optional), a needle threader, 4 colours of medium weight wool blend and acrylic yarns, the floral pattern, and step-by-step instructions with photos.
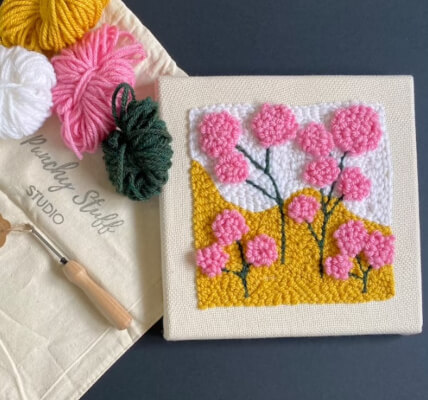
Find the Kit from PunchyStuff Here
10. Punch Needles Starter Kit by ChloeArtCrafts
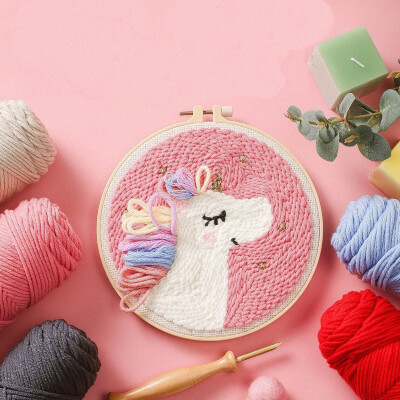
Are you looking to create a wall hanging to display in a little girl’s room? This cute unicorn design will make everyone smile. And it is so easy you can complete it in as little as a weekend.
The unicorn punch needle kit includes 1 embroidery hoop, illustrated linen fabric, 1 Adjustable punch needle tool, and a Set of embroidery cotton threads.
Find the Kit by ChloeArtCrafts Here
11. Wool Queen Punch Needle Beginner DIY Kit
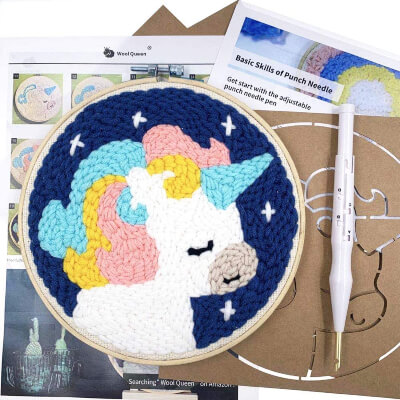
This is a great kit for beginners. You get everything your need to get started including 18 coloors of yarn, 2 embroidery hoops, monk’s cloth, a punch tool, and 5 patterns.
If you are looking for a relaxing hobby that can give you a sense of accomplishment, give punch needle a try.
We hope that our guide for punch needle has helped you learn a little more about the art form. It is a simple and enjoyable crafting technique that can be enjoyed by people of all ages.
Share with us your first punch needle piece of artwork on our Facebook Page. We’d love seeing your work!
If you’re up for more DIY crafts, check our our DIY Dreamcatchers, DIY Kids Bird Feeders, DIY Felt Roses, DIY Fairy Jar Ideas, DIY Piggy Banks and a lot more fun DIY crafts here.
So, what are you waiting for? Get out your punch needle, sit back, relax, and punch.

