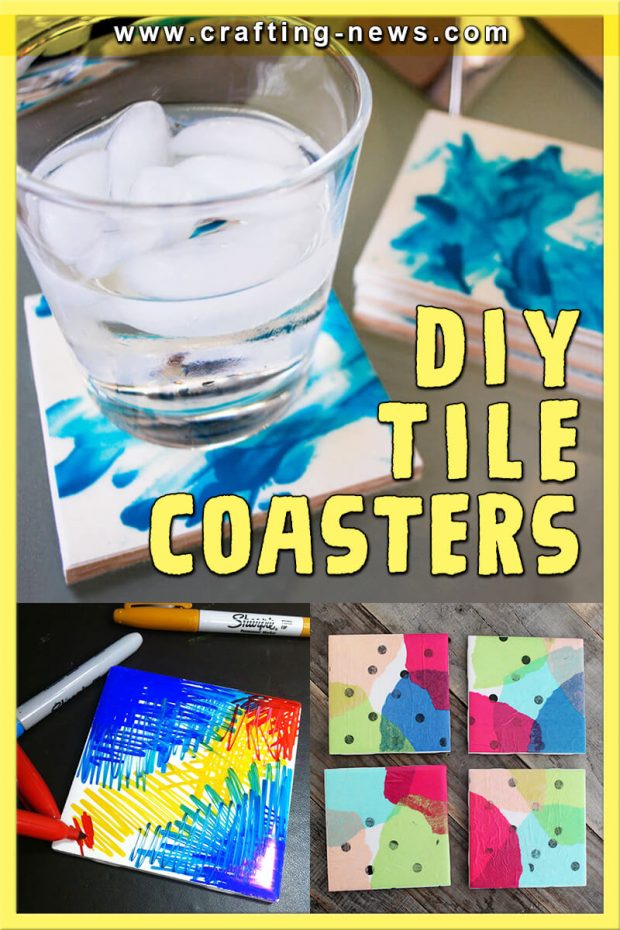
Everyone needs a drink coaster to protect their furniture from condensation and hot drinks. Are you looking for a crafting idea to do with your kids, or are you wanting to make a personalised gift?
DIY tile coasters are fun and easy to make. And there are a wide variety of styles. You can make sharpie coasters, paper coasters, photo coasters, among others.
Supplies for DIY Tile Coasters
DIY tile coasters only require a few basic supplies. These will vary depending on the type of coaster you are making. The most common supplies need for a ceramic coaster DIY include:
- Ceramic Tiles
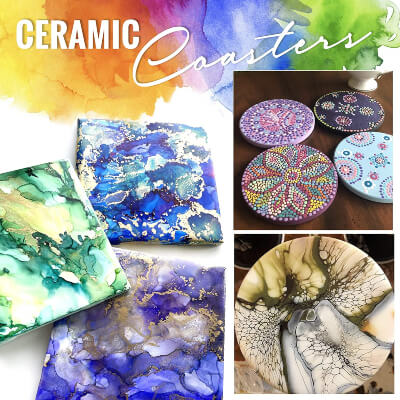
You can use any shape of coaster you prefer. The most common shapes are square, round, and hexagon. Some coasters even come with cork backing pads, so you do not have to add your own.
- Mod Podge
Mod podge is a durable crafting glue. It is often used on decoupage projects. It is water-resistant. However, it is not waterproof.
You can purchase either Mod Podge Gloss or Mod Podge Matte. The gloss has a glossy luster when it dries. The matte will have a more muted look.
- Sharpies
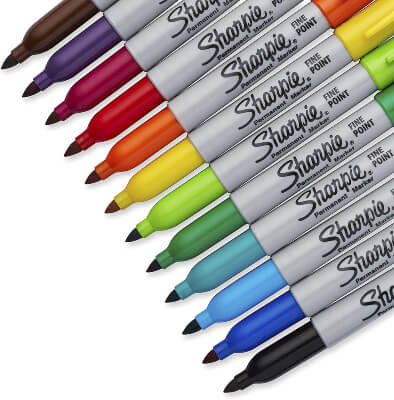
You can decorate your DIY tile coasters with Sharpies. And they are available in a wide range of colours.
- Rubbing Alcohol
If you are using Sharpies to decorate your DIY ceramic tile, you will need some rubbing alcohol.
- Scrapbooking Paper
The use of scrapbooking paper is one of the most common ways to decorate a DIY ceramic tile. You can use any type of scrapbooking paper you like. You can use classic designs, colourful designs, and even comic book characters.
- Tissue Paper
Tissue paper can create make beautiful tile coasters. And kids love ripping the paper into pieces.
- Finger Paints
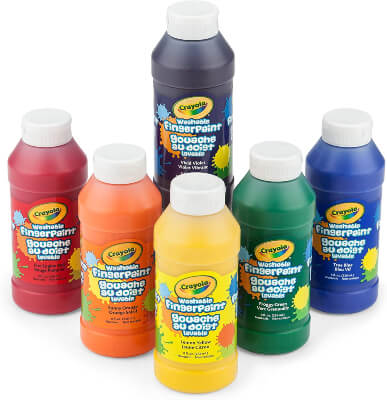
Children love finger paints. If your children are helping you make some tile coasters, let them use finger paints. They will have a blast. And you will have little pieces of artwork you can save for a lifetime.
- Watercolour Paper
If you are using finger paints, or any other type of paint, you will want to use watercolour paper. This way you can let the paint dry, then cut off the perfect spot for the tile.
- Felt Fabric
Felt fabric is one of the materials you can use on the base of the tile to prevent it from scratching the surface it is sitting on.
- Cork
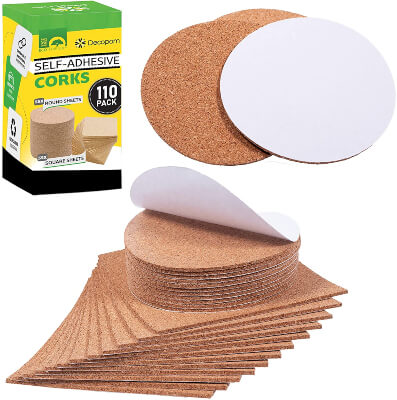
Cork is another common product attached to the bottom of the coasters to prevent damage to furniture.
- Scissors
If you are using any type of paper to decorate your DIY ceramic tile, you will need a good pair of sharp scissors. You will want your paper to have nice crisp edges.
- Foam Brush
The best tool to apply Mod Podge is a foam brush. With the foam brush, you can apply a thin amount of Mod Podge smoothly and evenly.
- Waterproof Sealer
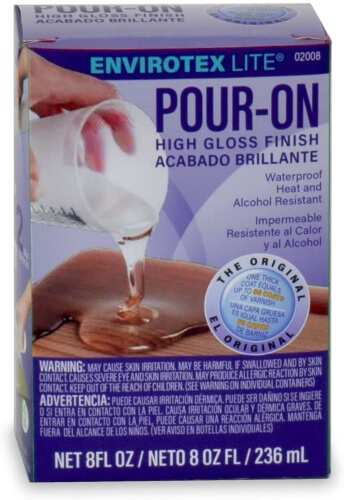
When you get done making your DIY ceramic tile, you will want to seal it with a waterproof sealer. This will help protect the tile from water damage. Our favourite sealer is Envirotex Lit Pour-On High Gloss Finish.
6 DIY Ceramic Coaster Ideas
Are you ready to get to work on a DIY coaster? Here are some fun DIY tile coaster ideas.
1. DIY Tile Coasters Painted With Sharpies For An Abstract Effect
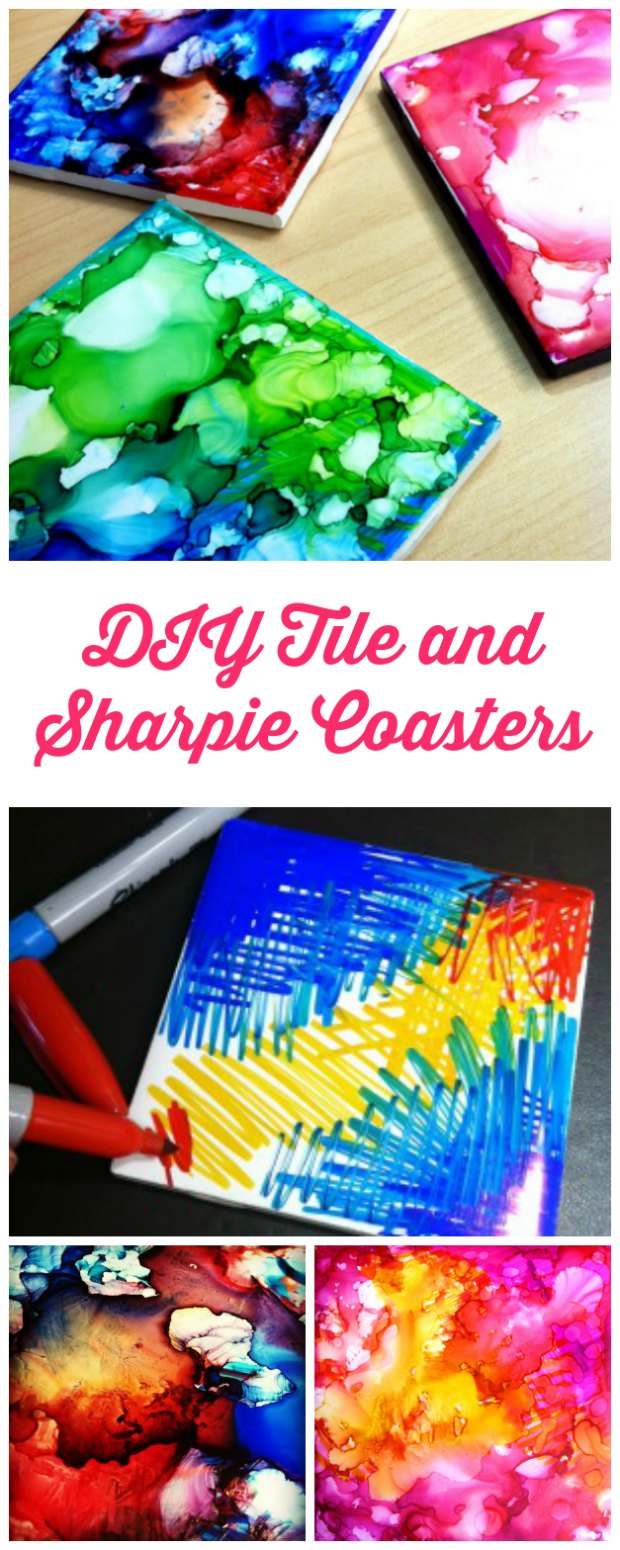
Tile coasters are great for protecting your precious furniture from those dreaded ring marks. You can have beautifully designed tile coasters done on the cheap side which ill suit your home decor perfectly.
These are great for your own home or made as a present for someone else.
Materials
For these tile coasters you will need to pick up the following list of materials:
- White ceramic tiles
- Rubbing alcohol
- Small straw or an eyedropper
- Sharpie fine markers in your favorite colors
- Spray fixative
You should be able to pick up some really cheap tiles from your local bathroom or hardware store. They are normally less than $1 each. Make sure they are glazed tile, otherwise the sharpie colors will not pool.
Instructions
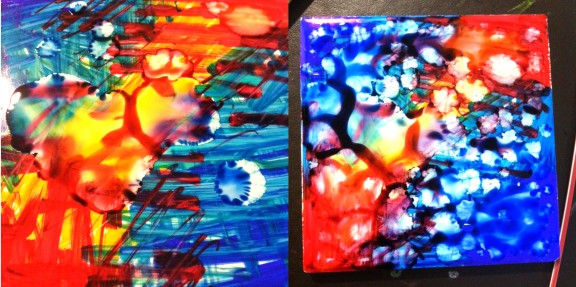
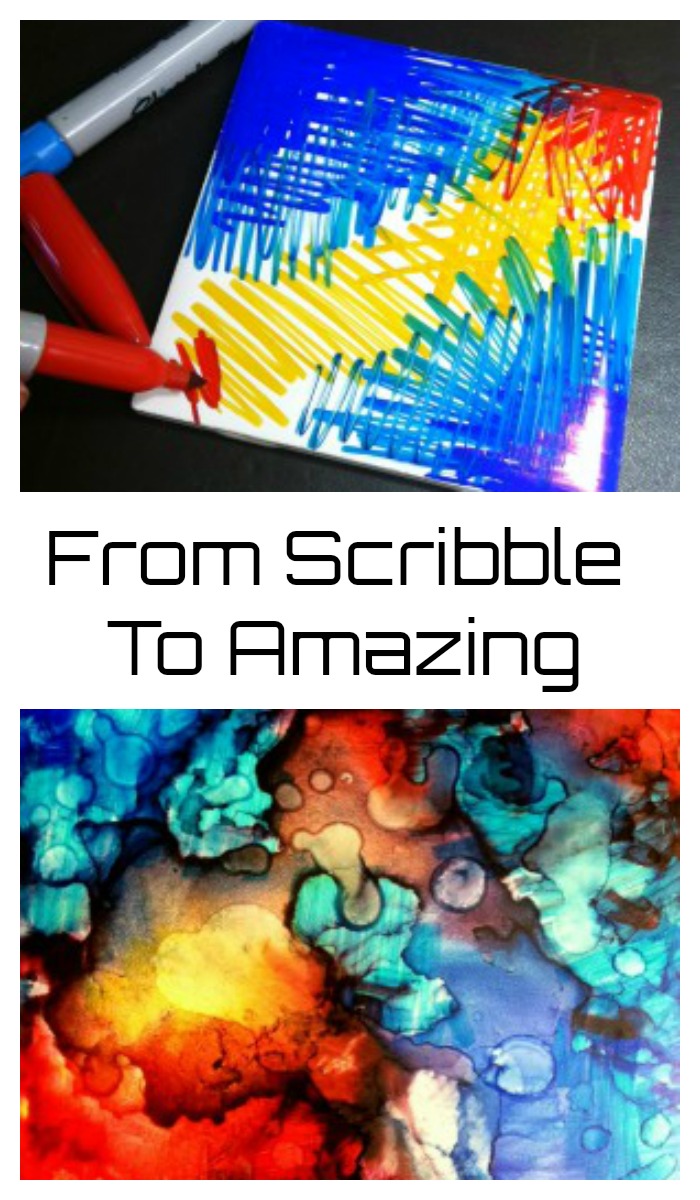
Clean the tiles thoroughly with soap and warm water so that there are no oils on there, which can effect the final look of the tile coaster. Color the coasters in with your sharpie markers. Use as many colors as you like. It doesn’t need to be neat or perfect, so don’t worry too much about how you are coloring the tile.
Use the straw of eyedropper to drop small pools of the rubbing alcohol onto the colored tile. Be sure not to use too much of the rubbing alcohol, otherwise the colors will blur together too much.
Once you have the desired pattern leave it to dry. This usually takes around 30 minutes. If you want to change the design or add more color to it, you can repeat the process on top of the dried pattern.
When you are happy with the design and it has completely dried, you can seal it using a spray fixative. We recommend using Mod Podge Spray. This will seal the color in.
Using Your Tile Coasters
We highly recommend buying some self adhesive felt to stick onto the four corners of the coasters. This will stop the tile from scratching your furniture when it is moved around. You can bundle four of the coasters up and tie them together with some pretty ribbon and make these as a beautiful gift to someone.
Find the Mickey Mouse DIY Mod Podge Coasters Here
2. Mickey Mouse DIY Mod Podge Coasters
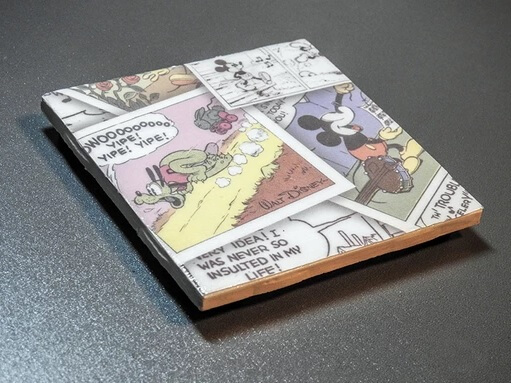
Check out this Mickey Mouse DIY Tile coaster for step-by-step instructions for making a coaster using scrapbook paper. The use of scrapbook paper makes these tile coasters the perfect choice for gifts. You can definitely find a paper that would be perfect for your giftee.
The instructions for making these Mod Podge coasters are easy to follow. There are also a lot of photos to walk you through the process.
To make these scrapbook paper tile coasters you will need tile coasters, Mod Podge, wax paper, scrapbook paper, scissors, a pencil, a foam paintbrush, clear acrylic gloss coating, and felt or cork.
3. Modern DIY Tile Coasters with Finger Paint
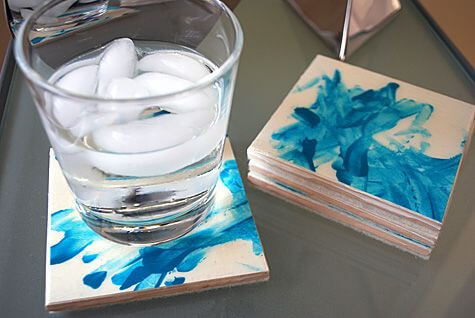
Finger paints are not only for children. Everyone in the family can have fun making these DIY tile coasters. Finger paint coasters are a great way to add a splash of colour to your decor. They also are the ideal crafting idea when looking for a unique gift idea for the grandparents.
To make these finger paint tile coasters you will need finger paint, watercolour paper, ceramic tiles, Mod Podge, a foam brush, sealer, X-Acto knife, felt, a self-healing mat, rotary cutter, clear plastic ruler, crafting glue, and sandpaper.
Find the Modern DIY Tile Coasters Tutorial Here
4. DIY Photo Tile Coasters
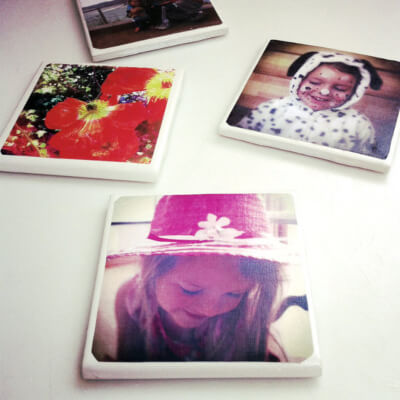
Photo coasters are another fin DIY coaster project. You can use any type of photo you like. You can make gifts for Mother’s Day using family photos. Or use photos featuring wildlife or flowers. If you can take a picture of it, you can use it to make DIY picture coasters.
The instructions are short and to the point. These DIY tile coasters require ceramic tiles, photos, scissors, Mod Podge, a foam brush, felt, a hot glue gun, and clear spray sealant.
Find the DIY Photo Tile Coasters Here
5. Mother’s & Father’s Day DIY Tile Coasters
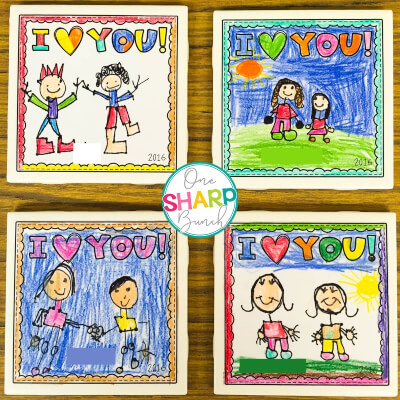
Are you looking for the perfect Mother’s Day gift or Father’s Day gift from the kids? Here is a fantastic idea that is simple and the gift will be cherished for years to come. These hand drawn Mod Podge coasters will definitely be a hit.
For this fun crafting project, you will need to gather a few basic supplies. These include ceramic tiles, ultra fine black Sharpie markers, coloured pencils, Mod Podge, scissors, and felt pads
Find the Mother’s & Father’s Day DIY Tile Coasters Here
Are you looking for a unique gift idea? You cannot go wrong with DIY tile coasters.
For more coaster projects, check out our Playing Cards Coaster Set Pattern, Macramé Coaster Patterns and Crochet Coaster Patterns. You can also make these Table Runners to add beauty to dining area, once your done, share your works on our Facebook Page.
Drink coasters serve many purposes. They protect furniture from water rings, heat, and scratches. So, everyone can benefit from using a coaster.
If you are looking for a fun crafting idea that is easy and impressive, you will love making DIY tile coasters.

