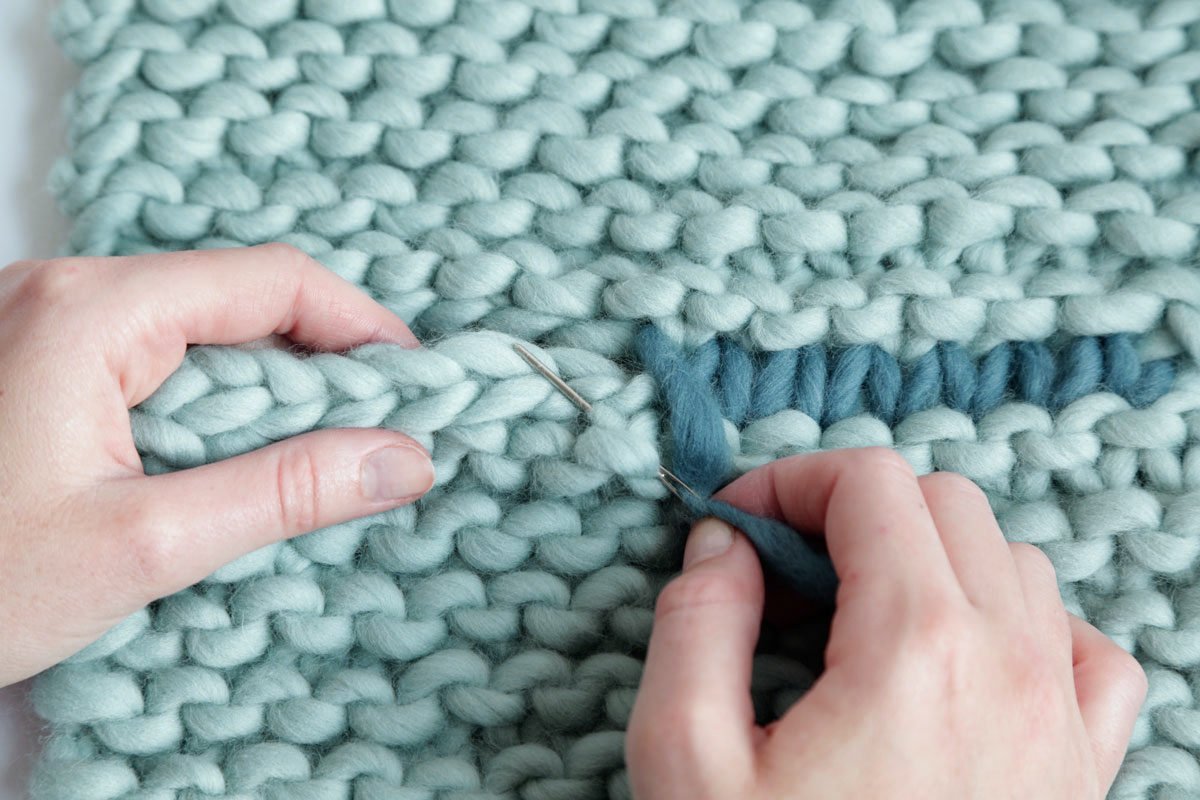
Knitters also have their fair share of dilemmas in working, and one of them is putting up or sewing together pieces of their works. In this post, we will be helping you sew a knitted sweater through this How to Sew A Knitted Sweater Together step-by-step tutorial!
How to Sew A Knitted Sweater Together
We’ll be helping throughout the process of finishing and piecing together a sweater consisting of segments that have been knitted flat. It’s quite difficult yet very rewarding to see how works evolve from a 2-dimensional piece into a 3-dimensional craft.
These include the front, two sleeves, and the back parts of the sweater.
MATERIALS IN SEWING A KNITTED SWEATER TOGETHER
- Tapestry needle
- Leftover yarn
How To Knit The Ultimate Beginner Sweater by Wool and the Gang
SEWING TOGETHER A KNITTED SWEATER PROCEDURE
Step 1
First, make sure that all the ends from your knitted pieces are well weaved and fabricated. By doing this, it won’t get in the way in piecing up the components of your knitted sweater later on.
Step 2
Next thing you need to do is to straighten and flatten out each piece for easy alignment of the sweater’s corners. You can achieve this by blocking each of the pieces through steam or iron.
Set up the moisture of your iron to the maximum level and hover it over the segments of the knitted sweater. Make sure that you’re not actually ironing the pieces! Use of the steam and focus on flattening out the curled up corners.
This step won’t last more than 5 minutes, it’ll also make the next steps a lot easier.
Step 3
Now, join the segments of the sweater together. In sewing the pieces together, make use of the mattress stitch, together with a tapestry needle and the precise length of the yarn. In deciding the length of the yarn, you should make sure that its length is 3 times the length of the edge of the sweater.
Mattress Stitch is an enjoyable yet simple stitch makes a nearly transparent seam. Joining the two corners make it hard to distinguish the seamed part of the sweater.
Coordinate the right sides of your two pieces. To make it easier to align, use markers or clips in joining the middle and end parts of the sweater.
Start by putting together one sleeve to the back. We’ll start sewing the mattress stitch beginning from the neck, going down to the armpit. Always remember to sew stitches with the right side facing to assure the invisibility of the seams. Then, join the left sleeve from the back to the front of each sleeve.
Step 4
Next step is to sew up the sides. You need to start from the bottom corner, making your way up, towards the armpit. Always check and make sure that your segments are exactly aligned. If there’s a little bit of bunching up and misalignment; at least we’re sure that it’ll just end up in the armpit and not on the other visible parts of the sweater.
Step 5
Now, it’s time to polish the details. By now, your sweater may need to have its stitches picked up. The neckline needs to be knitted as well.
In picking up the stitches, the first thing you need to do is to twist every stitch as you knit the rows to avoid spaces and gaps. Fit the sweater that you’ve made to make sure the neck size is not too tight.
Step 6
For the finishing touch of the finishing touch, complete your masterpiece by blocking. Soak the sweater in a water bath to achieve the wet block. Let it stay there for about 20 minutes in lukewarm water.
Next, lay the sweater flat in the exact size and figure you want it to be. Also don’t touch it until it is completely dry!

Your Guide To Fall Sweater Style by Kate Ogata
FINALLY, YOU GOT YOURSELF A SWEATER. VERY FULFILLING ISN’T IT?
Now you know how to sew a knitted sweater together!
So, what are you waiting for? Create your very own masterpiece with this How to Sew A Knitted Sweater Together Tutorial!
For more knitting ideas, check out our knitted brain hat pattern.


