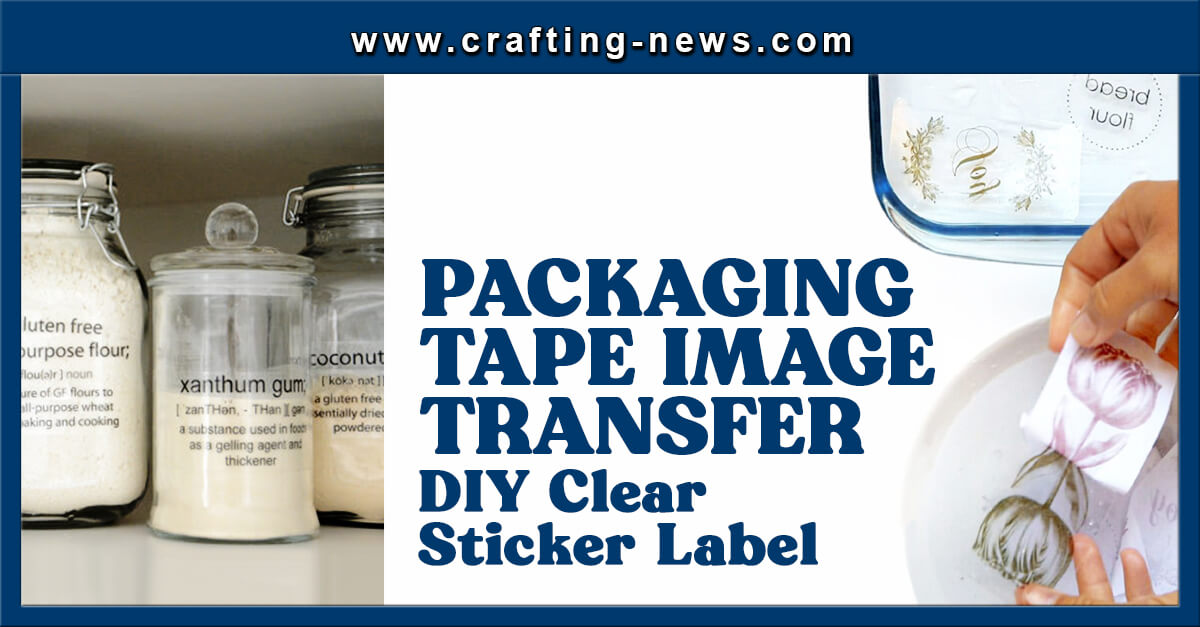
There is nothing better than having a beautifully organized home, and what better way to organize than with DIY clear sticker labels! By using the packing tape image transfer method you can personalized and label your home without spending much.
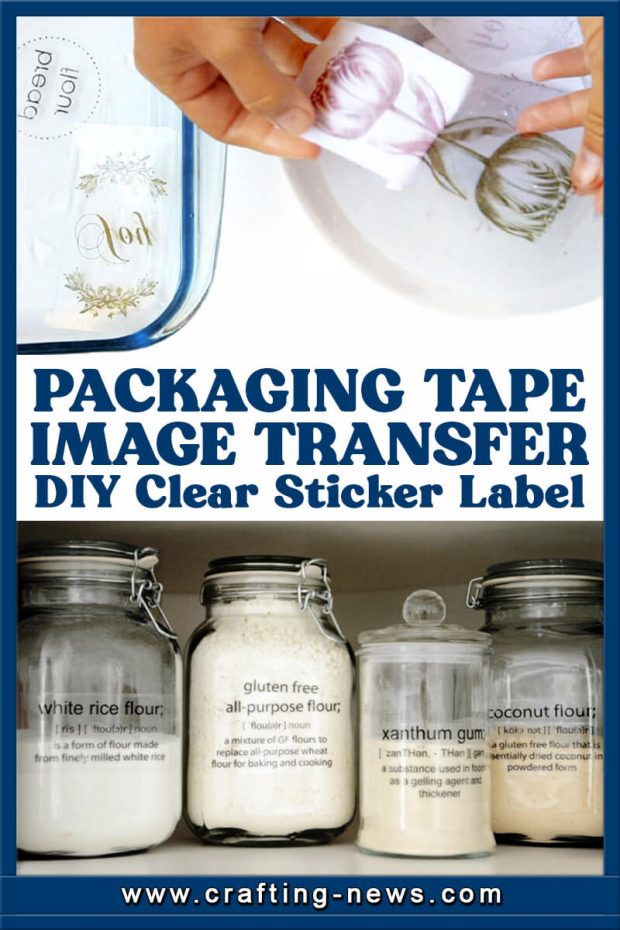
Just imagine having a pantry full of labelled jars and containers; everything would go in the right place and you will be stress free. Ah the bliss. And how about names on the kids school books, images on vases and decorating your entertainment pieces with gorgeous images.
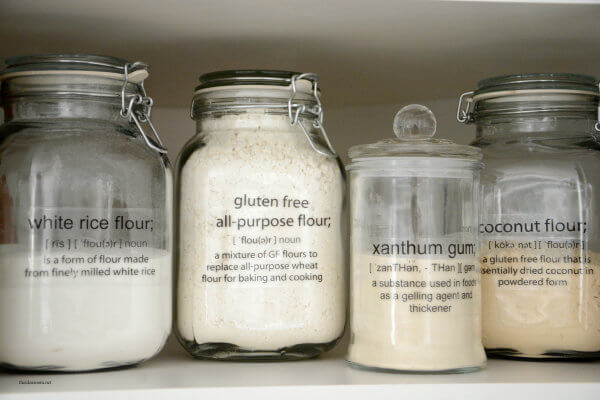
Photo from The Idea Room
Uses for Packing Tape Image Transfers
Packing tape image transfers are super easy and fun to make. And they can be used in a lot of projects. Some of these include:
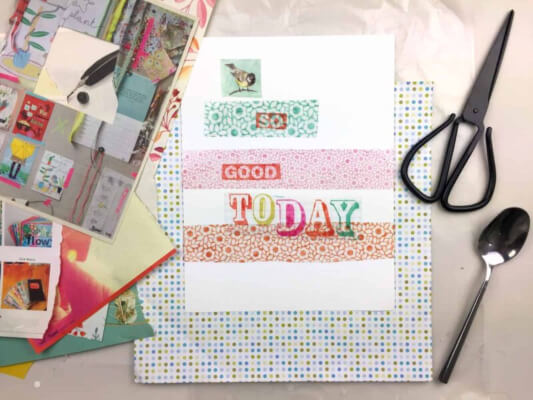
Photo by Craft Whack
- Labels for Organisation
- Card Making
- Scrapbooking
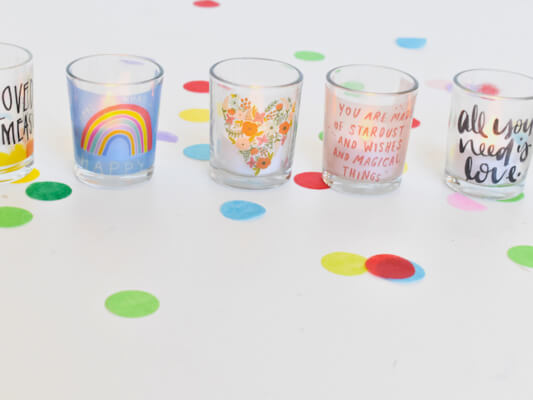
- Home Decor
- Decorating Gifts
- Product Packaging
- Wedding Stationery
- Kids Stickers
Materials for Making DIY Clear Sticker Labels
Using packing tape to do an image transfer is a very simple and cheap way to make labels. Before you begin, make sure you have gather all of the materials and tools listed below and you’re ready to start.
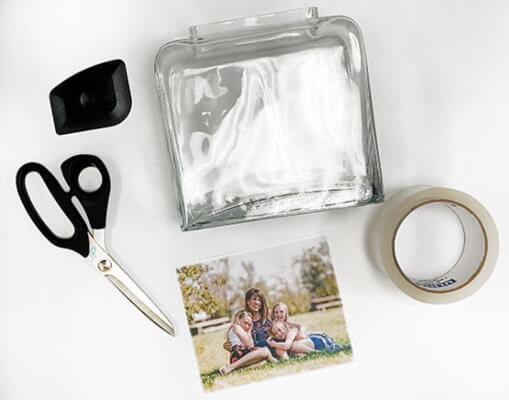
Photo from Ben Franklin Crafts & Frame Shop
- Clear Packing Tape
- Image Printed on Inkjet Printer
- Scissors
- Bone Folder or Spoon
- Small Bowl
- Room Temperature Water
Steps for creating a packing tape transfer:
1. Start by finding the image you want to transfer. Print it on a piece of standard copy paper with your inkjet printer. You will want the image to be small enough that it will be easy to work with.
2. Cut a piece of clear packing tape larger than the image.
3. Press the sticky side of the tape down onto the image. Make sure the image is completely covered. If your image is too wide for the tape, place a second piece over the rest of the image. The packing tape will need to overlap.
4. Now take the bone folder, or the back of a spoon, and burnish it. To do this, rub the tool all over the image, making sure to cover the whole image. You will want to apply pressure and go over the image several times. This step is extremely important. The more pressure you apply, the better the transfer will be.
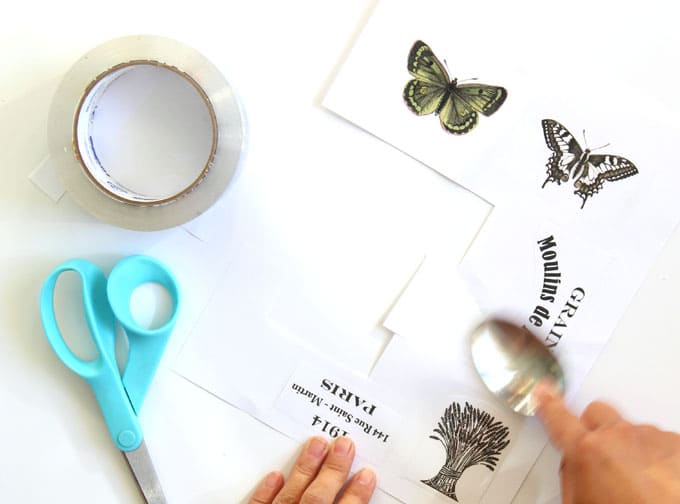
5. Cut out the image.
6. Place the image cut-out in the small bowl of water and let it soak for at least 5 minutes. You can let it soak longer, which will make it easier to remove the paper.
7. Take the image out of the water and place it face down on your surface. Use your fingers to rub off the paper from the tape. You can add more water until you get all the paper removed.
8. Once you have the paper removed, allow the image to dry. Do not use a towel to dry it. The tape is still sticky, and debris will stick to it.
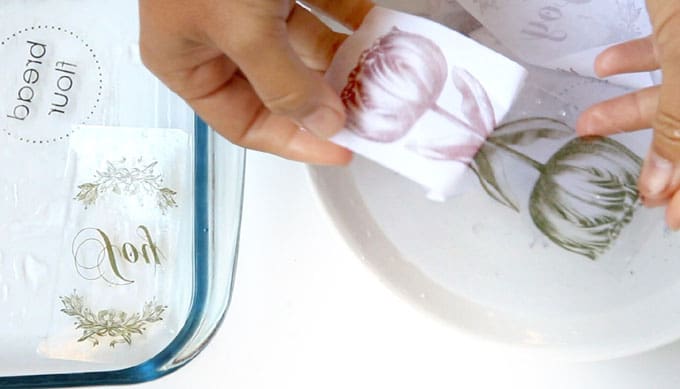
9. Once the image is completely dry, it is ready to be applied to your project. Simply treat it as a sticker.
You can see the full instructions for the image transfer process here
Tips When Making Your DIY Clear Sticker Labels
Ensure you use a heavy duty packaging tape such as the Duck Brand tapes. If you use a thin tape the resulting label may lose stickiness or become cloudy. You can transfer color images. Just remember that images with lots of contrast work much better than images with subtle shades.
A larger image can be transferred by cutting the image into strips and treating each strip as a separate image. Then, once the transfer process is complete you can stick the labels next to each other to put the image back together.
So, it’s time to get creative using packing tape image transfer technique with your labels!
Stickers are fun for people of all ages. It does not matter if you are an adult trying to organise your pantry or a child decorating a folder.
Instead of heading out to your local crafting store and buying premade boring stickers, get creative and make your own using the packing tape image transfer method.
If you love this idea, you’d also like this DIY Celtic Knots Jewelry.

