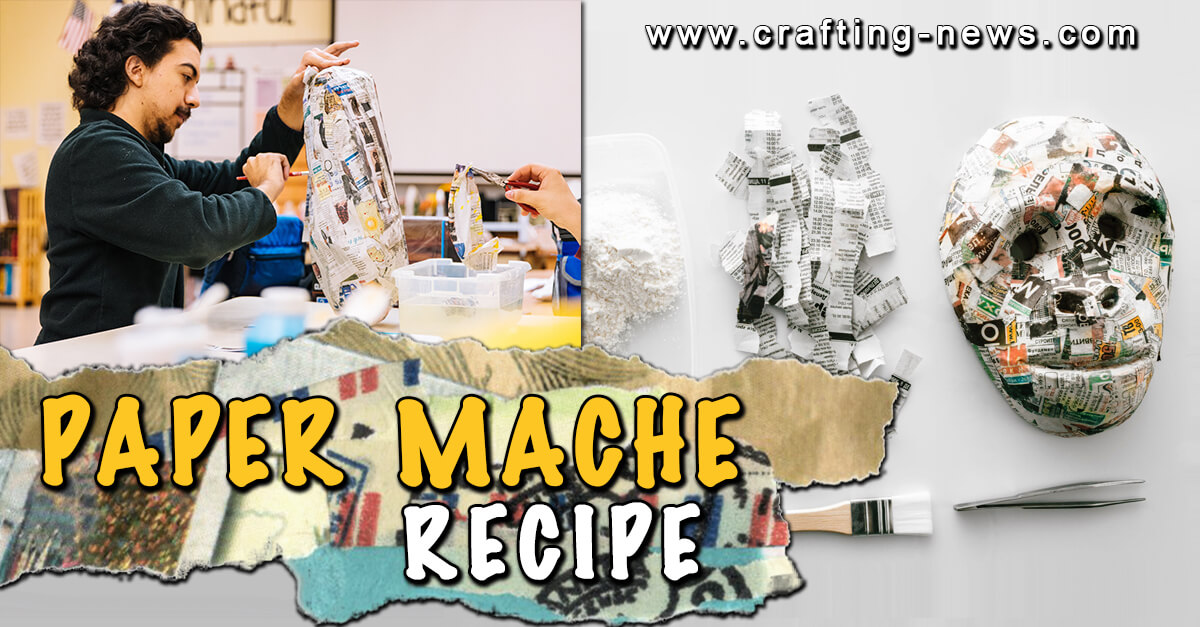
When people think of paper mache they often think about covering balloons for a school project. But, at one time, paper mache was an essential technique for producing cheap objects that were both practical and decorative.
The paper mache recipe is easy to make and very inexpensive. This makes it a crafting medium that can be enjoyed by all.
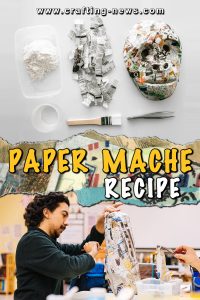
Paper mache is a versatile crafting medium. It can be used for countless creations. From pinatas, bowls, lampshades, figurines to masks. The possibilities are endless.
What is Paper Mache
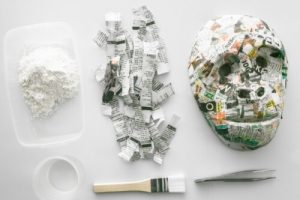
Paper mache is also referred to as papier-mache. It is a crafting method that utilizes paste and paper. Soaked paper is then layered on a surface or placed into a mold. The paste functions as a binding agent.
As the paper and paste dry, it creates a hardened shell. Once it has completely dried the shell can be decorated.
History of Paper Mache

Although the term paper mache may sound French, it did not originate in France. Paper Mache was invented in China during the Hans Dynasty, which was from BC202 – AD220. The same country that invented paper.
From China, the fascination made its way to Japan and Persia. During the early years of paper mache, it was used for making helmets. Eventually, the medium was used for ornaments, masks and other items.
How Thick Should Paper Mache Paste Be?

If you have never made a paper mache recipe before, you are probably wondering how thick the paste should be. You do not want it to be too thick or too thin. You will want a consistency that is comparable to pancake batter.
Paper Mache Recipe
There are several different paper mache recipes that produce different results. No matter which recipe you choose, clean the bowl and utensils right away. Do not give the paste the chance to dry. It will dry very hard and can be almost impossible to remove.
Below are the most common types of paper mache recipes.
- Flour and Water
The most common paper mache recipe is the easiest to make. It is made from plain all-purpose flour and water. When mixing this type of paper mache paste, only make enough for your current project. Do not save leftover paste for future use. It will lose its stickiness and have a bad odour.
This type of recipe will leave a flour residue on your project. If you need a paste that dries clear check out some of our other recipes below.
Ingredients:
- All-purpose White Flour
- Hot Tap Water
To create this paper mache paste put some regular white flour in a mixing bowl. Gradually add hot tap water. Stir the flour and water together with a whisk or spoon. Slowly add more water until you get a consistency that is easy to work with.
- Flour and Water (Cooked)
This paper mache recipe will produce a paste that will dry clearer than the non-cooked version. It will also give your project a smoother finish. Just as with the above recipe, do not save the leftovers.
Ingredients:
- 1/8 Cup of All-purpose White Flour
- 1 Cup of Cold Tap Water
Whisk the all-purpose white flour with the water in a pan until there are no lumps. Cook the mixture over medium heat stirring constantly. Bring to a boil. Continue to stir the mixture as it thickens. Scrape the bottom and edges of the pan to make sure it does not burn. When the mixture begins to bubble, remove it from the heat.
Leave the paste cool. Do not use the paste while it is hot. It will burn you. As the paste cools, it will thicken up.
- Elmer’s Glue Art Paste Recipe
The benefits of using this paper mache recipe are you get a clear finish, and you can save the rest for later. It will not mould! Make a large batch and keep it in a sealed container. Just pull it out when you need it, and it is ready to go.
Ingredients:
- Elmer’s Paper Mache Art Paste
- Cold Tap Water
Elmer’s made this paper mache recipe easy. All you have to do is mix the Paper mache Art Paste powder with the cold water. You can mix it all at once or in smaller batches.
- Elmer’s Glue-All
This paper mache recipe is simple and dries fast. It produces a strong clear finish.
Ingredients:
- 1 Cup Elmer’s Glue-All
- ¾ Cup Cold Tap Water
Just mix the Elmer’s Glue-All with the water, and it is ready to go.
- Paper Mache Clay
Paper mache clay gives you the ability to produce sculptures. Create your armature, mix up your paper mache recipe and get to work. You will only need to spread a thin layer of clay on your armature. It dries strong and hard.
Ingredients:
- Roll of 2-ply Toilet Paper
- Warm Water
- ½ Cup White Flour
- ¾ Cup White Glue
- 1 ½ Cups Joint Compound
- 2 Tablespoons Linseed Oil
Soak the toilet paper in a bucket of warm water for one hour. Remove roll from the bucket and squeeze out any excess water. Dump the bucket of water. Place the toilet paper back in the bucket. Leave it sit and dry out just a little bit. This will make it easier to handle and tear.
After the toilet paper begins to dry out squeeze it again to remove any more water. You want the paper to be wet, but not sopping wet.
Tear the toilet paper into 1” chunks. Add the rest of the ingredients and mix with an electric mixer. You will want the mixture to be smooth. If you have any lumps that will not mix up, remove them. Mixing should take around 3 minutes.
Your paper mache clay is now ready to be used.
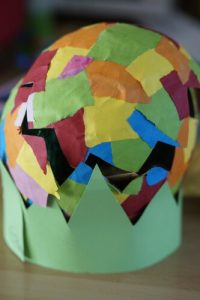
Try these different paper mache recipes when making your Paper mache projects!
If you are looking for a craft idea that is fun and inexpensive, give paper mache a try. You can create almost anything with only a few simple ingredients. Paper Mache is a fun inexpensive crafting technique that is enjoyed by people of all ages.
Paper mache is fun and is great for kids who love to make a mess. When setting up your crafting area be sure to protect your furniture with drop cloths and newspapers. It is also a good idea to wear an apron.
If you’re up for more craft-related tutorials, check out this Sphere Sewing Pattern from Scrap Fabric and Learning How to Grow Crystals at Home! We have lots of crafting activities you can check out here!
Paper-mache can be used on all types of projects. The finished design will dictate which paper mache paste you will need to use. We have included 5 different paper mache recipes, so you can choose the perfect one for your project.

