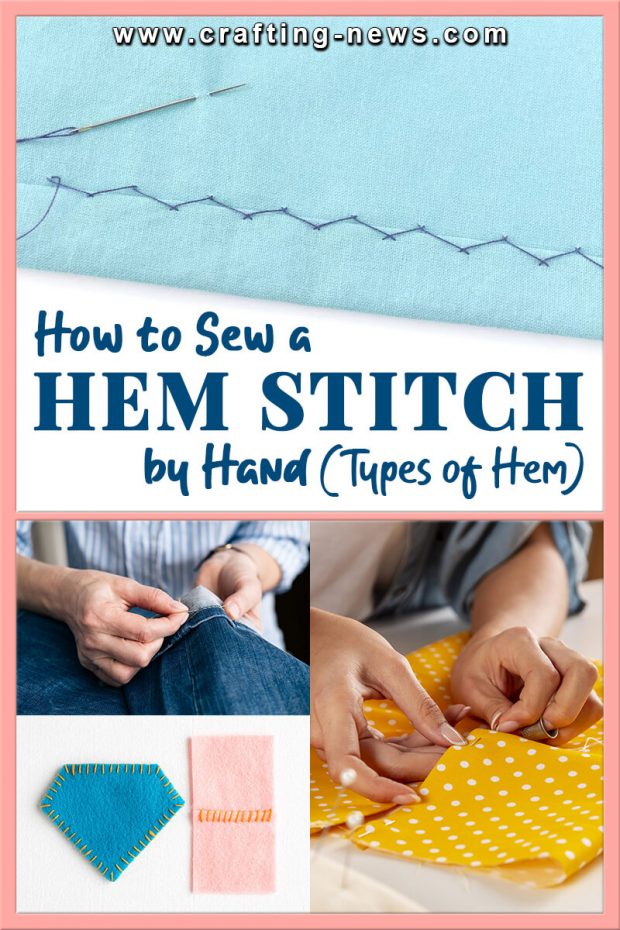
Professional looking hems may be intimidating. But you can do it. There are several ways you can sew a hem stitch. The technique you choose will depend on the results you are looking to achieve.
What is a Hem Stitch?
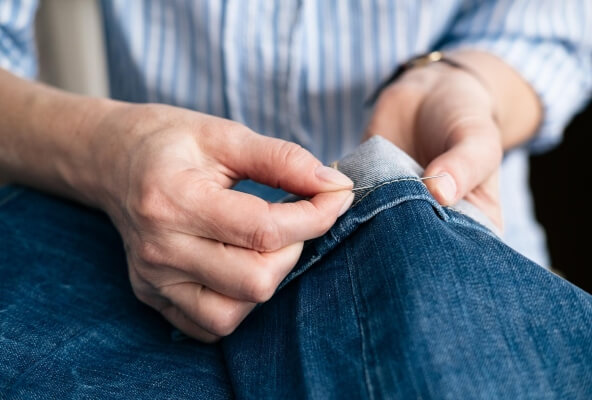
Over time, clothing can wear out. One common issue is the hem comes undone. Instead of throwing out the article of clothing, mend it.
The hem stitch gives a polished look and a clean edge. It strengthens the fabric and helps to prevent unravelling.
When is the Hem Stitch Used?
The hem stitch is used to create finished edges.
The hem stitch is often used on projects such as:
- Curtains
- Pants
- Skirts
- Shirts
- Pillowcases
- Sheets
Types of Hemming Stitches by Hand
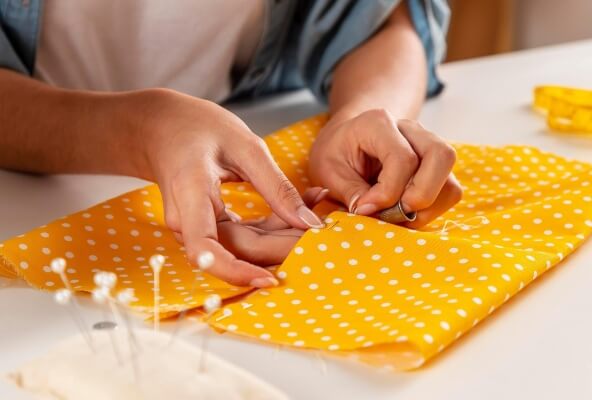
There are a variety of hem stitches you can use. Choose the one that best works with your project. You can use stitches that are almost invisible or decorative.
- Blind Hem Stitch
- Catch Stitch
- Felled Stitch
- Hand Rolled Hem Stitch
- Whip Stitch
How to Sew a Hem Stitch Tutorial
Below you will find some of the different hem stitches you can use to finish your edges. All these steps are written for right-handed sewers. If you are left-handed, simply switch the direction.
Blind Hem Stitch:
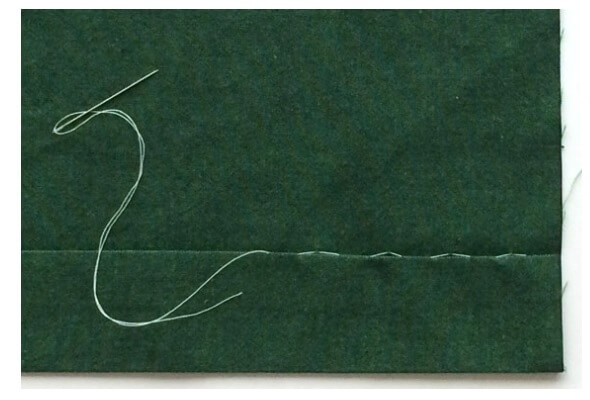
Blind Hem Stitch by Craftsy
The blind hem stitch is also referred to as the slip stitch. It is a stitch that is almost invisible. When making the blind hem stitch, you will want to choose a thread colour that matches your fabric.
1. Thread your needle, making a knot at the end.
2. Make a ¼” fold along the edge of your fabric.
3. Iron the fabric to get a crisp edge.
4. Make another fold equal to the width of the hem you want to create.
5. Iron the fabric to get a crisp edge.
6. Work from the right to the left, with the visible fold of the hem facing downward. Insert your needle under the fold of the hem and come out through the crease line. Your knot will be hidden in the fold.
7. Directly across from where the needle came out through the crease, insert the tip of the needle through to the right side of the fabric. Pick up a few threads to the left and pull the needle back through.
8. Enter the needle into the crease of the folded hem directly across from the spot you just came through.
9. Work the needle about ¼” through the fold and come back out of the crease.
10. Repeat steps 7-9 until you reach the end.
Catch Stitch:
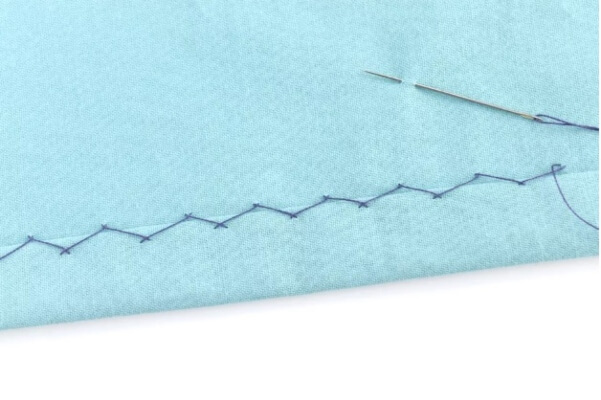
Catch Stitch by TheSpruceCrafts
The catch stitch is often used when you want to make blind hem stitch, but you are working with knit or bulky fabrics. The stitch provides movement, so it will have a little stretch. To make it as invisible as possible, use a matching thread.
1. Thread your needle, making a knot at the end.
2. Make a ¼” fold along the edge of your fabric.
3. Iron the fabric to get a crisp edge.
4. Make another fold equal to the width of the hem you want to create.
5. Iron the fabric to get a crisp edge.
6. Work from the left to the right, with the visible fold of the hem facing downward Insert your needle under the fold of the hem and come out through the crease line. Your knot will be hidden in the fold.
7. Insert the needle as though you were creating a zig zag. Insert the needle down and to the right. Only go through the back layer of the hem. Pick up a couple of threads and come back out the fabric to the left (back tack) of where you inserted the needle.
8. Now you need to make the right side of the V shape. To do this, you will need to insert your needle up and to the right. Insert the tip of the needle through the front fabric just above the hem. These are the only stitches you will see on the right side of the garment.
9. Pick up a couple of treads and come back out the fabric to the left (back tack) of where you inserted the needle.
Felled Stitch:
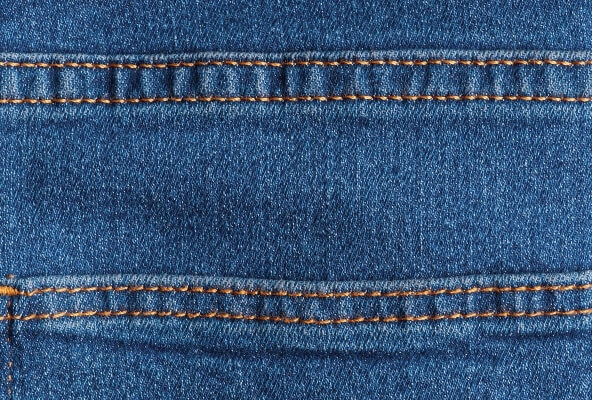
The felled stitch can be used as a decorative stitch. The slightly angled stitches are visible on the outside of the fabric. If you want to use it as a decorative stitch, use a thread that is contrasting to the fabric. If you want the stitches less visible, use a matching thread.
1. Thread your needle, making a knot at the end.
2. Make a ¼” fold along the edge of your fabric.
3. Iron the fabric to get a crisp edge.
4. Make another fold equal to the width of the hem you want to create.
5. Iron the fabric to get a crisp edge.
6. Work from the right to the left. Insert your needle, a few threads down, behind the top folded edge of the hem. Pull it out through the fold. Do not insert the needle through the front side of the fabric. This first stitch is only to lock the knot in place.
7. Insert the tip of the needle through the front piece of the fabric. Insert it slightly to the left of the previous stitch, and a few threads under the fold of the hem.
8. Now insert the tip of the needle back through at an angle, a few threads to the left. Keep your needle at an angle and come up through the fold of the hem a few threads down from the top. On the front of the fabric, you will have created a small dash.
9. Repeat steps 7 and 8 until you reach the end.
Hand Rolled Hem Stitch:
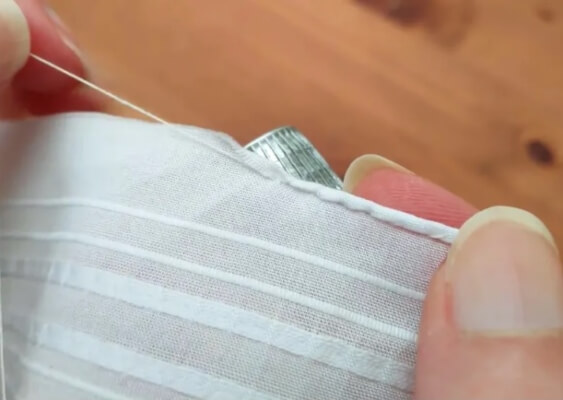
Hand Rolled Hem Stitch by Retro Claude
The hand rolled hem is often used on delicate and sheer fabrics.
1. Thread an extra fine needle, making a knot at the end. Use a single strand.
2. Trim the hem allowance to ¼”.
3. Work from the right to the left, with the fold of the crease facing upward. Secure the knot by inserting the needle behind the hem and pulling it out just under the pressed under raw edge.
4. Insert the needle into the folded edge (edge visible from the front) about 1/8” over from the anchored knot. Catch a couple of threads on the back of the project and come out at the fold. Do not pull the thread tight.
5. At an angle from your previous stitch (1/4” from the anchored knot) grab a couple of threads on the front fabric, just under the hem. Insert the needle from the bottom upwards. Do not pull the thread tight.
6. Insert the needle into the folded edge (edge visible from the front) catching a couple of threads on the back of the project and coming out at the fold. Do not pull the thread tight.
7. At an angle from your previous stitch (1/4” from the last stitch worked into the front fabric) grab a couple of threads on the front fabric, just under the hem. Insert the needle from the bottom upwards. Do not pull the thread tight.
8. Insert the needle into the folded edge (edge visible from the front) catching a couple of threads on the back of the project and coming out at the fold. Do not pull the thread tight.
9. Repeat steps 7 and 8 until you have created about 5 stitches. The stitches should be approximately 1/4” apart.
10. Gently pull on the working thread to tighten the stitches. The fabric will roll over, touching the wrong side.
11. Repeat steps 7-10 until you reach the end.
Whip Stitch:
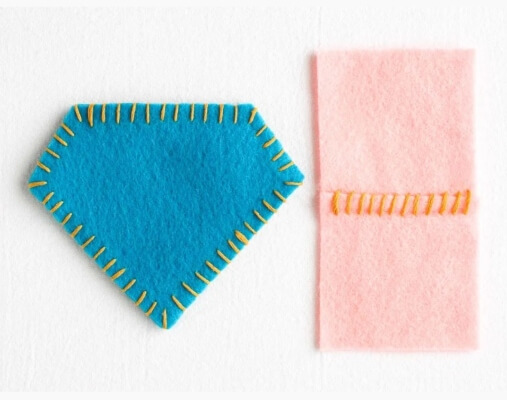
Whip Stitch by Instructables Craft
The whip stitch is a fast way to sew a hem. The stitches are short and diagonal. The stitch can be seen on the right side of the fabric. So, pick the colour of the thread accordingly.
1. Thread your needle, making a knot at the end.
2. Make a ¼” fold along the edge of your fabric.
3. Iron the fabric to get a crisp edge.
4. Make another fold equal to the width of the hem you want to create.
5. Iron the fabric to get a crisp edge.
10. Work from the right to the left, with the folded edge facing upward. Insert your needle under the fold of the hem and come out through the crease line (not the visible edge). Your knot will be hidden in the fold.
6. Insert the tip of the needle through the front piece of the fabric. These stitches are often anywhere between 1/8” to 1/4” apart. No matter what distance you choose, make sure the rest of the stitches are the same distance apart.
7. Bring the tip of the needle back up through all three pieces at a slight angle. You will bring the needle up right next to where you went down through. And bring it out a few threads from the fold. The stitch on the wrong side of the fabric will be long and diagonal. The stitches on the front should be barely visible.
8. Repeat steps 6 and 7 until you reach the end.
Tips for Sewing the Hem Stitch
There are a wide variety of ways to sew a hem. Even though these ways are often very different, there are some common tips you can use to get the perfect hem stitch.
- Thread Colour
Before you begin, decide if you want the stitches to be hidden or visible. If you want them to be visible and decorative, use a contrasting thread colour. If you want them to be hidden, use a matching thread colour.
- Stitch Length
To get the best hem stitch, make all the stitches the same length.
- Use Your Iron
If possible, always press the seams to create crisp edges. This makes the fabric easier to work with. Just press down, do not use an ironing motion. Moving the iron back and forth can stretch the fabric.
We hope you had fun learning how to sew a hem stitch.
Share us your experience while learning how to sew these hemming stitches on our Facebook Page. Learning the different types of hem stitches and practising will give you the ability to create professional hems by hand.
For sewing related projects, check out our Dungaree Sewing Patterns, Sphere Sewing Patterns, Backpack Sewing Patterns, Lettuce Hems Patterns and a lot more here.
The hem stitch is a stitch that every sewer needs to know. The stitch is useful for a lot of different projects.

