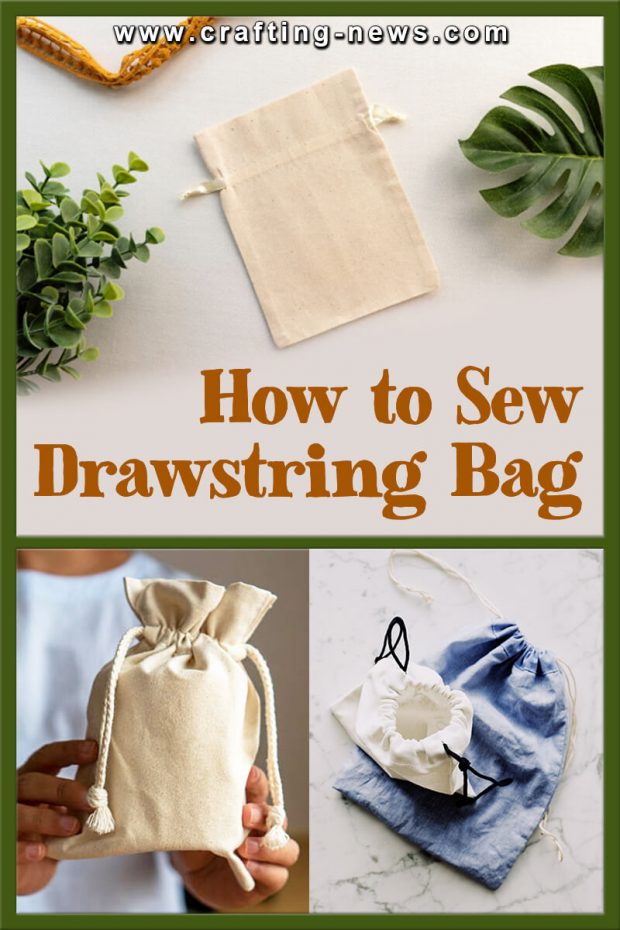
Drawstring bags are easy to make. They are simple projects that can be completed by beginners. If you need a drawstring bag or looking for a unique gift idea, do not buy one. Instead, put your talent to work and learn how to sew drawstring bag.
With this written tutorial on how to sew a drawstring bag in just a couple of hours, you can easily make your first drawstring bag. And once you master one, you will be able to make another in no time at all.
What You Can Do with a Drawstring Bag
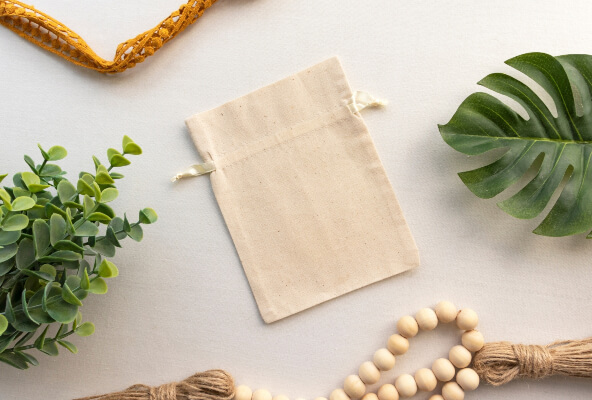
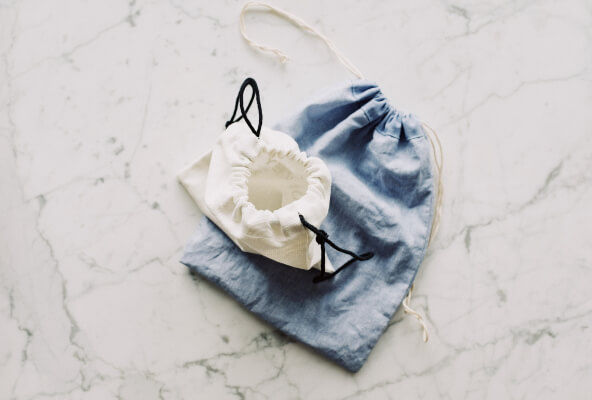
Drawstring bags are very versatile and can be used for all types of things, including:
- Organisation
- Storing Toys
- Travelling
- Dirty Clothes
- Lunch Bags
- Trash Bags
- Everyday Carry Bag
- Gifts
- Shoe Storage
- Promotional Products
- Etc…
Supplies Needed to Make a Simple Drawstring Bag
- Fat Quarter of Fabric
- Fabric Scissors or Rotary Cutter
- Cutting Mat
- Matching Thread
- Sewing Machine
- Ruler
- Straight Pins
- Pillow Insert
- Drawstring (Ribbon, Cord or Twine)
How to Sew a Drawstring Bag
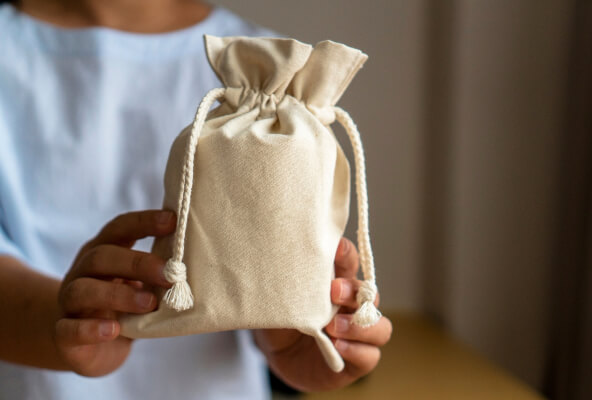
There are several styles and design patterns you can use to make a drawstring bag. In this tutorial, we are going to teach you the simplest way to sew a drawstring bag.
Once you have mastered this simple technique, you can move on to bigger and more complicated patterns.
How to Sew Drawstring Bag:

1. If there is a selvage edge, cut it off. The piece of fabric should measure close to 18″ x 22″.
2. Fold over one of the long edges ½”. Press it and sew it in place.
3. Fold the fabric in half on the long edge, with the right sides together. The rectangle will now measure approximately 11” x 17 ½”.
4. Sew across the bottom edge using a 3/8” seam allowance. This is the edge opposite of the ½” hem you already created.
5. Sew down the side opposite the fold using a 3/8” seam allowance. Do not sew down the whole edge. Instead, start 4” from the top then sew all the way down.
6. Press the side seam, and the 4” unsewn area open.
7. Sew (hem) the edges of the 4” opening. Sew down one side and back around to the top of the other side. This will create a V. Be careful you do not sew through both layers of fabric.
8. Fold the top edge over 2″, with wrong sides together. Use your pins to hold it in place. Sew the fold down by sewing on top of the existing stitching.
9. Stitch across the top using a ¼” seam allowance.
10. At this point, you can insert the drawstring and turn the bag right side out and use it. Or you can add a gusset and make the bottom have a more boxed look.
11. To add the gusset, take the bottom corner of the bag and press the seam open. The bottom seam should be directly on top of the side seam.
12. Cut the corner of. The farther back you make the cut, the larger the edge of the “box” will be. For your first bag, we would recommend cutting back 1 ½” from the point.
13. Sew straight across the opening using a ¼” seam allowance.
14. Repeat steps 11-13 on the opposite corner.
15. Finally, insert the drawstring and turn the bag right side out.
DO NOT WASTE YOUR MONEY ON A PLAIN OLD BORING BAG. INSTEAD, BUY SOME FUN FABRIC AND LEARN TO SEW DRAWSTRING BAG.
Are you always in need of a bag or looking for the perfect gift idea? Make a drawstring bag. You can get creative and use whimsical patterns or textured fabrics. The choice is yours. But once you learn how to sew a drawstring bag, you will want to make more.
We’d love to see any of your work, share a picture over on our Facebook Page. You might also want to check out How to make a bean bag and 17 Macrame bag patterns for your next project.
We hope you had fun learning how to sew drawstring bag.

