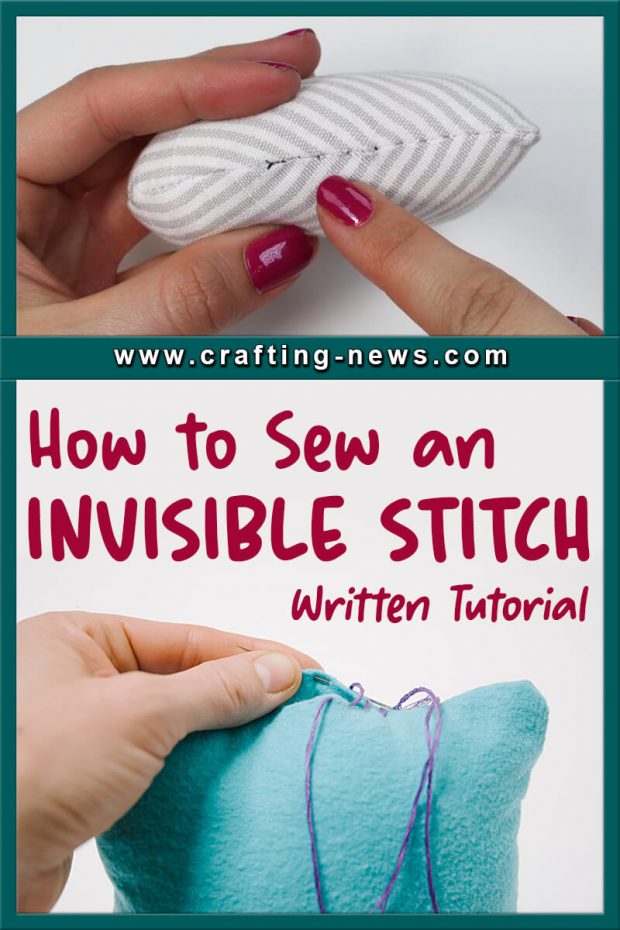
Are you working on a project that has an unsewn gap due to turning your work right side out? Then you are probably wondering how to sew it shut without it being noticeable. This is where the invisible stitch comes in handy. Continue reading to learn how to sew the invisible stitch.

What is the Invisible Stitch?
The invisible stitch is also referred to as the ladder stitch. It is a stitch used to close a project without having any visible stitching.
When sewing a project, you are usually sewing with the wrong sides toward you. This naturally hides the seams. But when you need to turn a project right side out, you will be left with a hole that needs to be stitched shut. To close the hole without having visible stitches, you can use the invisible stitch.

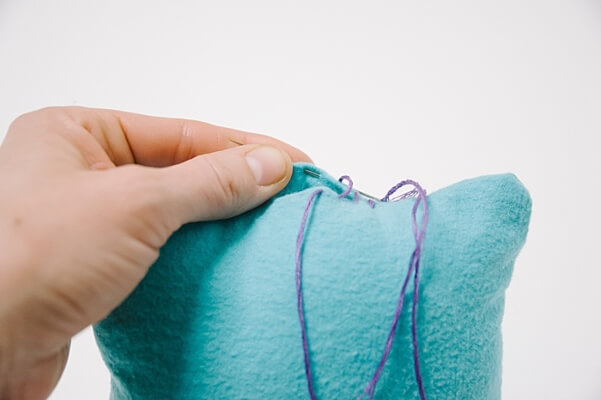
How to Sew a Ladder Stitch by Laura Radniecki
When is the Invisible Stitch Used?
The invisible stitch is often used when a project has an unsewed gap left after turning a project right side out. The stitch is often used on projects such as:
- Stuffed Toys
- Seams in Clothing
- Pillows
How to Invisible Stitch by Hand
The invisible stitch is an easy stitch that a beginner can quickly master. Just be patient and always make sure you are taking the needle through the creases of the folds.
Supplies needed:
- Project with 2 Folded Edges
- Matching Thread
- Needle
- Scissors
Invisible Stitch Tutorial:
1. Cut your thread and thread your needle. Knot the end, so you cannot pull it through the fabric. It is always better to have too much thread than not enough.
2. If possible, iron the fabric to get crisp folds.
3. Hold the 2 folded fabric edges together, so they are even and aligned.
4. Starting at one side, insert the needle up through one of the ironed edges, so the knot is hidden inside the project.
5. Insert the needle down through the opposite folded edge, pick up a little fabric, and come back out the same folded edge.
6. Insert the needle into the opposite folded edge directly across from the last stitch. Pick up a little fabric and come back out the same folded edge. The stitches should run perpendicular to the folds and look like the runs of a ladder. Do not tighten every stitch.
7. Insert the needle into the opposite folded edge directly across from the last stitch. Pick up a little fabric and come back out the same folded edge.
8. Continue working back and forth across the opening. Once you have made 3-4 stitches, pull your working thread taught to close the stitches, making them invisible.
Then work on the next few stitches and pull taut. Repeat until you have closed the gap.
9. At the end, insert the needle and pick up a bit of fabric, as you have done for every stitch. Instead of pulling the thread tight and working into the opposite side, bring the needle through the loop to create a knot.
10. Make two more knots through the knot you just made, securing the thread.
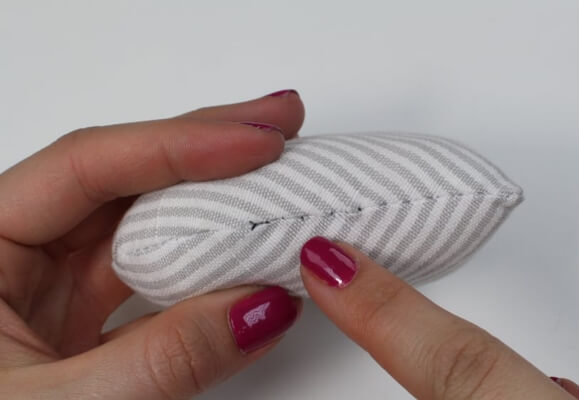
11. To finish the invisible stitch and hide the tread, insert your needle down through the knot and out through the side of your project. Pull the thread taut and snip off the excess. When you let go, the thread should pull back inside the project.
Tips for Making the Perfect Invisible Stitches

Invisible stitching by MadeToSew
The invisible stitch should be very hard to spot. To make the stitch as invisible as possible, follow our tips.
- Using Single or Double Thread
You can use either single or double thread to create an invisible stitch. However, if the seam is going to have a lot of wear or there is strain against the invisible stitches, use double thread. Double thread will provide extra strength.
- Thread Colour
Use a thread colour that matches the fabric as close as possible. This will also help hide the stitches.
- Tension
When making the stitches, you do not want them to be tight or sloppy. They need to be tight enough that the thread isn’t floppy. But not so tight you are having a hard time making the next stitch. You will tighten the stitches every few stitches.
- Placement of the Stitches
After the very first stitch, be certain that all the stitches are inserted directly across from where the previous stitch came out. The stitches should be perpendicular to the fabric and look like runs on a ladder.
WE HOPE THAT OUR ARTICLE ON HOW TO SEW A INVISIBLE STITCH IS USEFUL IN YOUR FUTURE SEWING PROJECTS!
Do you hate making pillows and stuffies because you can see where you made your final stitches to close it up? Once you learn how to sew the invisible stitch, you will no longer be embarrassed about that last sewn seam.
If you’re just beginning to learn how to sew, do check out our article on How to Top Stitch On A Sewing Machine and 2 Ways To Do Baste Sewing.


