If you are looking for a fun activity to do by yourself or with your family, try tie dying. There are so many tie dye techniques to choose from, you will want to try them all.
Tie dying is fun, and it never goes out of style. It can be enjoyed by the young and old alike. The process makes it easy to create bright, colourful designs with unique patterns.
What is Tie Dye?
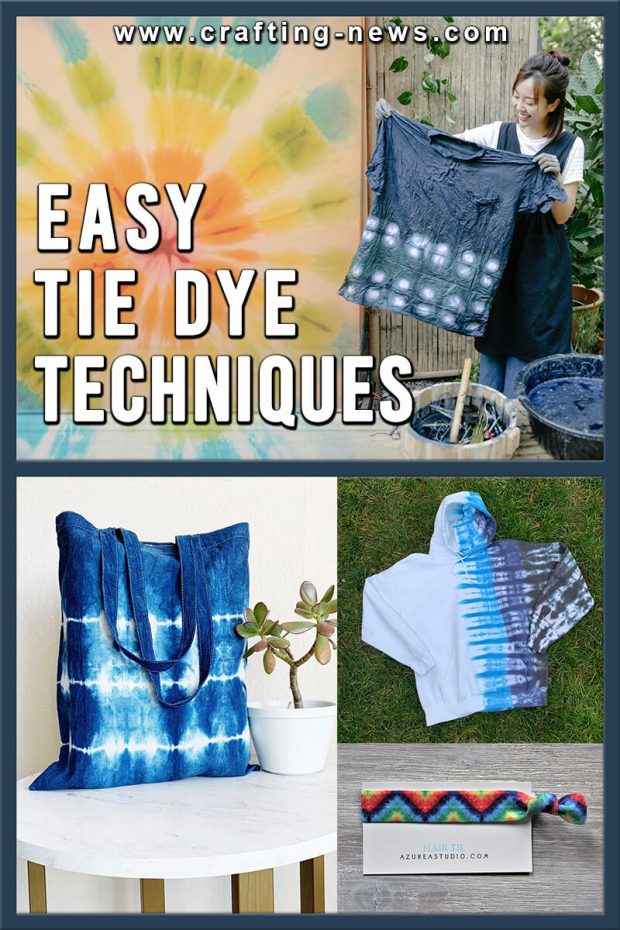
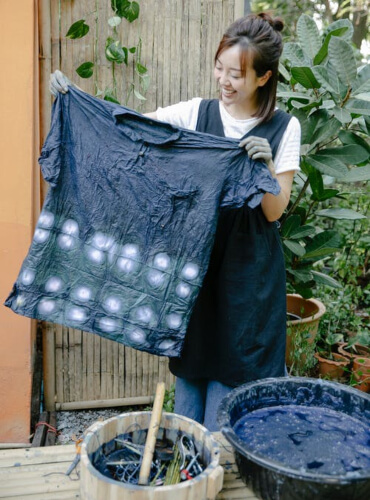
Tie dying is a popular method of dyeing fabric. The different tie dye techniques used can create a wide array of patterns. Most tie dye patterns are bright and colourful. However, there are also tie dye designs that use dark colours too.
Before dying a piece of fabric, one of the tie dye techniques must be chosen. Then the fabric is prepared by using a folding, crumpling, twisting, or pinching technique. The technique used will determine the patterning outcome.
Once the fabric is prepared and “tied” to keep its shape, the dye is applied. The dye will penetrate some areas of the fabric while failing to penetrate other sections.
The rubber bands and/or string will keep the dye from penetrating all areas. After the dye is left to cure, the fabric is rinsed out and the pattern is revealed.
The Most Common Tie Dye Techniques
Different tie dye techniques will produce different results. Below, we will explain the basics of tie dying and the most common tie dye techniques.
Further down we will teach you the essentials of completing the following tie dye techniques.
- Bullseye Tie Dye Technique
- Chevron Tie Dye Technique
- Crumple Tie Dye Technique
- Diagonal Stripes Tie Dye Technique
- Horizontal Stripes Tie Dye Technique
- Ice Dye Tie Dye Technique
- Mandala Tie Dye Technique
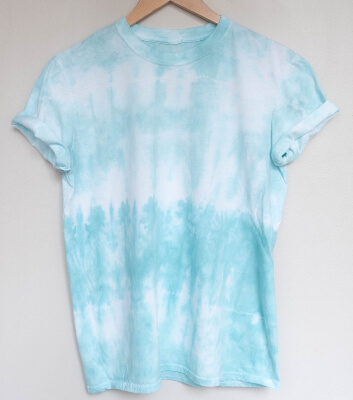
- Ombre Dip Dye Tie Dye Technique
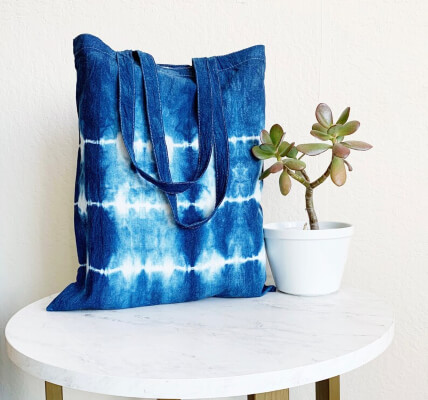
- Shibori Tie Dye Technique
- Spiral Tie Dye Technique
- Square Box Folds Tie Dye Technique
- Sunburst Tie Dye Technique
- Triangle Folds Tie Dye Technique
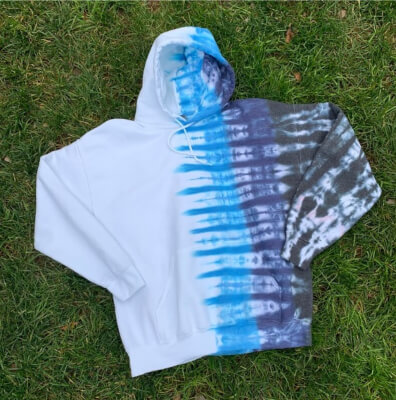
- Vertical Stripes Tie Dye Technique
How to Tie Dye
- If necessary, pre-soak your fabric in soda ash solution. Some dyes do not require this.
- Prepare your work area. Tie dying is messy, and dye can cause unwanted damage to anything it comes in contact with.
- Mix your dies according to their directions.
- Prepare any other supplies you may need.
- Choose which of the tie dye techniques you want to use and fold the fabric.
- Follow the directions for applying the dye.
- Let the dye cure. The time will vary depending on the dye used.
- Thoroughly rinse the dye and/or bleach from the sweatshirt.
- Wash and dry the garment by itself.
If you are new to tie dye, there are a few things you should know. These are:
Basic Supplies Needed for Tie Dying
- Fabric (100% natural fibre)
- Dye and/or Bleach
- Rubber Bands
- Rubber Gloves
- Large Bucket
- Squeeze Bottles
- Washable Fabric Marker
- Forceps
Tie Dye Techniques
Tie dying has been around for a long time, and there are countless tie dye techniques. Below are the most common.
All these tie dye techniques are fairly easy. Just remember, as with anything, the more you practice, the better results you will have.
1. Bullseye Tie Dye Technique
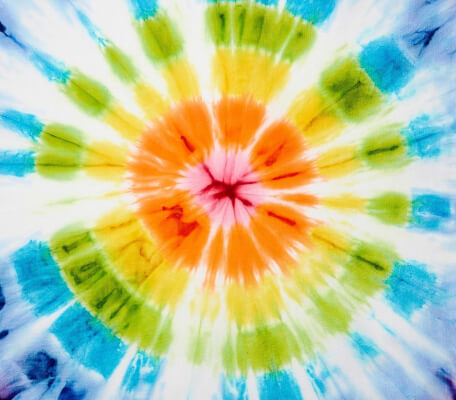
a. Lay the shirt flat on a table.
b. Start wherever you want the centre of the bullseye. Pinch a small section and pick the shirt straight up.
c. While holding the fabric up by the pinched area, smooth down the sides.
d. Place the first rubber band about 1-2” from the tip of the pinched fabric.
e. Continue adding more rubber bands down the length of the fabric. You will create a long rope that is reminiscent of tied sausage links.
f. Lie the project back down on the table.
g. Apply the dye. Alternate the colours.
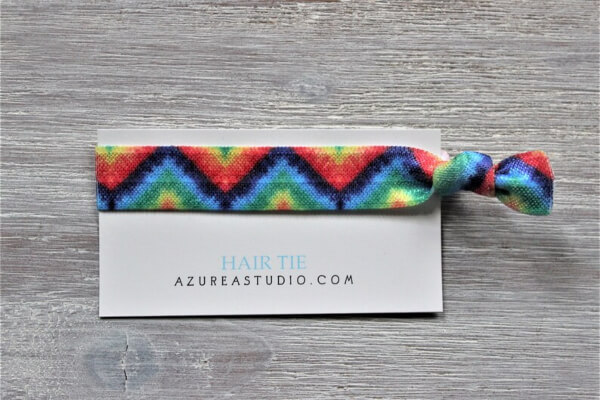
2. Chevron Tie Dye Technique
a. Lay the fabric down on a flat surface.
b. Fold the fabric from the left to the right.
c. Use a washable marker to draw half of a V. The crease of the shirt would be the centre of the V if it was folded in half.
d. Start making small accordion folds along the line.
e. Once you have all the fabric folded. The line should sit straight on top of the folds. Secure the folds with rubber bands. Place one directly on the line. Place additional rubber bands the length of the fabric.
f. Apply the dye.
3. Crumple Tie Dye Technique
a. Lay the fabric down on a flat surface.
b. Take small sections of the fabric and scrunch them together.
c. Scrunch all areas of the fabric together until you get a fairly flat, tight circle.
d. Use rubber bands to secure the circle from coming unravelled. Criss cross them over each other in the centre of the fabric. The rubber bands should create an astric type design.
Use enough rubber bands to secure the fabric. The tighter the rubber bands, the more white areas will be left visible on the fabric.
e. Apply the dye.
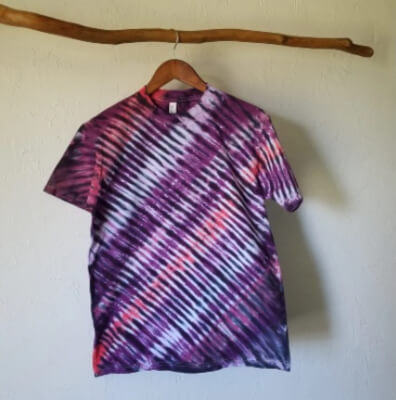
4. Diagonal Stripes Tie Dye Technique
a. Lay the fabric down on a flat surface.
b. Fold the fabric in 1” accordion folds starting at one of the bottom corners. Continue making the 1” accordion folds all the way to the opposite top corner. When folding the sleeves, make sure the folds line up with the other folds.
c. Secure the folds with rubber bands. Place a rubber band around every 1-2”.
d. Apply the dye in every other section.
5. Horizontal Stripes Tie Dye Technique
a. Lay the fabric down on a flat surface.
b. Fold the fabric in 1” accordion folds starting at one side. Continue making the 1” accordion folds all the way across the fabric.
c. Secure the folds with rubber bands. Place a rubber band around every 1-2”.
d. Apply the dye in every other section.
6. Ice Dye Tie Dye Technique
a. You can use the ice dye technique with any of the folds. Ice dying creates watercolour designs. Instead of using liquid dye you use powdered dye. The die is either placed on top of a layer of ice or under the ice.
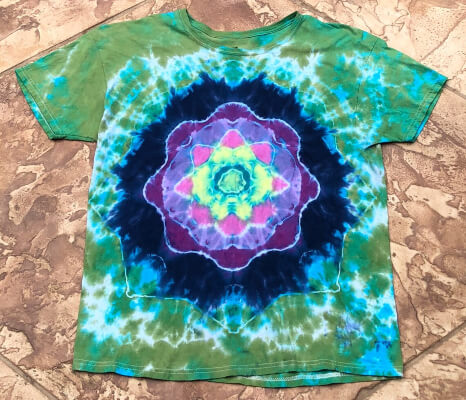
7. Mandala Tie Dye Technique
a. Lay the fabric down on a flat surface.
b. Fold the fabric in half from the top down.
c. Fold the fabric in half again from the right to the left.
d. Take the top left corner (only the top fold) and fold it down to the opposite bottom corner.
e. You now have a triangle with a fold in the middle. Take that fold and place it on top of the fold on the right. The bottom tip will protrude down past the bottom of the square.
f. You will have created another fold near the right-hand side of the square. Take that fold and place it on the top of the right fold.
g. Carefully flip the project over. The right-hand fold will now be on the left-hand side.
h. Take the top right corner and fold it down to the opposite bottom corner of the original square. You will create a diagonal fold.
i. Take the diagonal fold and place it on the left-hand fold, creating another diagonal fold.
j. Take that diagonal fold and place it on top of the left-hand fold. You will now have a long narrow triangle. One side will have 2 thick folds. The other side will have a lot of folds.
k. Take the tip of the triangle and roll the fabric as you would a cinnamon roll. Keep the edge that has the most folds aligned. That side will be flat.
l. Secure your project with a rubber band.
m. Apply the dye.
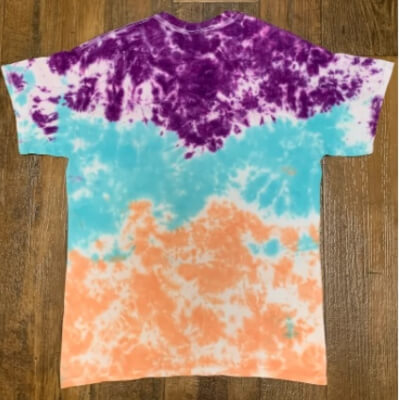
8. Ombre Tie Dye Technique
a. The ombre tie dye technique does not require any folding. However, you can fold the shirt to create interesting designs.
b. Prepare the tie dye bath in a plastic tub. Mix the dye with water and an activator.
c. Hang your cloth above the bath, keeping one end submerged in the dye mixture.
d. As the fabric hangs there, the dye will slowly bleed up the fabric that is not submerged in the bath.
e. Leave the fabric hanging until you get the desired results. The section of the cloth submerged in the dye mixture will be the darkest part. It will get lighter as it works its way up the fabric.
9. Shibori Tie Dye Technique
a. Lay your fabric down on a flat surface.
b. Place a tube (e.g. paper towel roll) on the edge of the fabric and roll the fabric around the tube.
c. Push both sides of the fabric toward the centre of the tube.
d. Use rubber bands to secure the fabric to the tube and prevent it from shifting.
e. Apply the dye over all the fabric while rotating the tube.
10. Spiral Tie Dye Technique
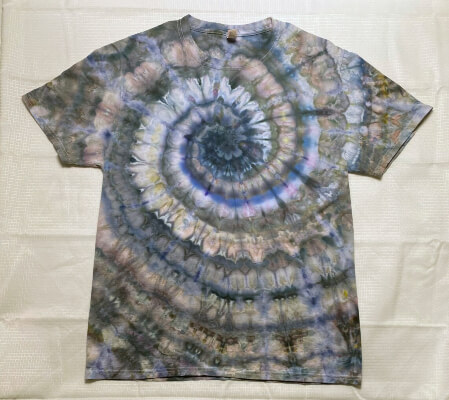
Spiral Geode Tie Dye by ConsumedToDye
a. Lay your fabric down on a flat surface.
b. Pinch a small piece of the fabric near the centre. You can use your fingers or forceps. While continuing to pinch the fabric, twist it in a clockwise motion.
c. While twisting the fabric, help the fabric fold in around itself neatly.
d. Use rubber bands to secure the twist in place. Criss cross them over each other in the centre of the fabric. The rubber bands should create an astric type design.
You can use as few as 3 rubber bands or as many as you want. The tighter the rubber bands, the more white areas will be left visible on the fabric.
e. The crisscrossing rubber bands will create wedge shapes. Place your dye in these wedges. The pattern works best if you use a different colour in each wedge.
11. Square Box Folds Tie Dye Technique
a. Lay the fabric down on a flat surface.
b. Fold the fabric in large accordion folds starting from the left side and working to the right. You can make the folds anywhere from 3” up. Make each fold the same size. Crease all the folds.
c. Fold the fabric in large accordion folds starting from the bottom and working to the top. Make the folds the same size as the other folds. Crease all the folds. Once completely folded, you should have a square.
d. Place the folded square of fabric between 2 pieces of cardboard. Secure the “sandwich” with rubber bands.
e. Apply the die with a squeeze bottle. Or dip the project into a bucket of dye.
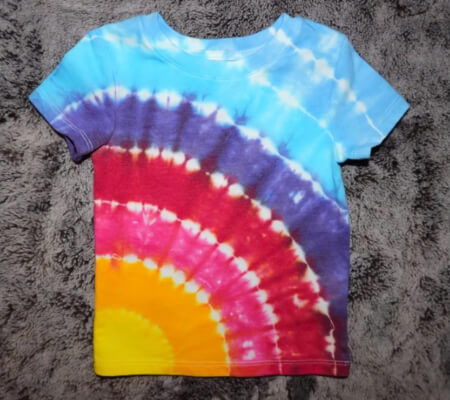
12. Sunburst Tie Dye Technique
a. Lay the fabric down on a flat surface.
b. Pinch a small section of fabric as if you were creating a bullseye pattern. Instead of picking up the fabric, form a small cone.
c. Place a rubber band around the cone about 1” from the point.
d. Choose another small random area and repeat the process.
e. Continue making as many of the cones (sunbursts) as you want.
f. Apply the dye.
f. Apply the dye.
13. Triangle Folds Tie Dye Technique
a. Lay the fabric down on a flat surface.
b. Fold the fabric in large accordion folds starting from the left side and working to the right. Make each fold about 5”. Crease all the folds.
c. Fold the fabric into triangles. Use the same technique as if you were folding a flag. Take the bottom corner and fold it over until it touches the opposite side. Now take the bottom corner and fold it straight up.
Next, take the bottom corner and fold it over to the opposite side. Then fold the bottom corner up. Repeat until the fabric is completely folded. You should now have a triangle.
d. Place the folded triangle of fabric between 2 pieces of cardboard cut in the shape of the triangle. Secure the “sandwich” with rubber bands.
e. Apply the die with a squeeze bottle. Or dip the project into a bucket of dye.
14. Vertical Stripes Tie Dye Technique
a. Lay the fabric down on a flat surface.
b. Fold the fabric in 1” accordion folds starting at the bottom. Continue making the 1” accordion folds all the way to the top. When folding the sleeves, make sure the folds line up with the other folds.
c. Secure the folds with rubber bands. Place a rubber band around every 1-2”.
d. Apply the dye in every other section.
Using these easy tie die techniques, you can make amazing and beautiful tie dye patterns.
We’d love to see any of your work, show us your finished creations by sharing a pic on our Facebook Page.
Tie dye has been around for a long time. It was extremely popular in the 60s. Even though it never went away, it was not as popular as it once was. Today, it is making a huge comeback.
You can see it everywhere. And now that you know most of the common tie dye techniques, choose one, get creative, and make your own fun designs. Or you can check out our list of Tie Dye Patterns and Reverse Tie Dye Patterns.
For more crafty projects, check out our DIY Tile Coasters, Punch Needle Embroidery, Light Bulb Craft Idea s and a lot more here.

